New to Architectural Models? Start Here.
This article is a deep dive into our specific production process. For a complete A-to-Z overview of all model types, their purposes, and the entire commissioning journey from start to finish, we highly recommend reading our foundational pillar page first: The Ultimate Guide to High-End Architectural Models
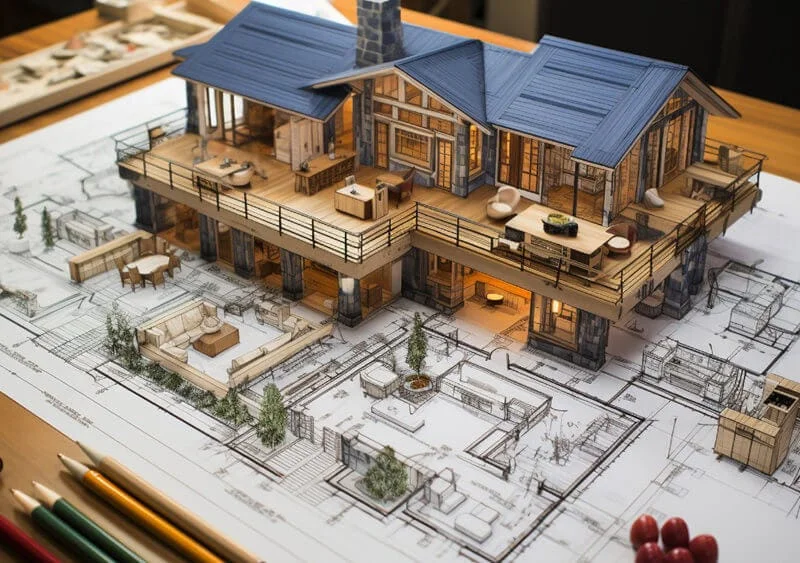
Phase 1: The Blueprint – Consultation and Strategic Planning (The First 10%)
A world-class model is not born on the workshop floor; it is born in a strategic meeting. This foundational phase is the most critical part of the entire journey. It’s where we move from being a simple supplier to being your creative and technical partner. Getting this first 10% of the process right ensures that the remaining 90% of the project proceeds smoothly, on time, and perfectly aligned with your goals.
Step 1.1: The Initial Consultation – More Than a Sales Call
Our first conversation is a strategic deep dive. We need to understand not just what you want to build, but *why* you want to build it. Our project consultants will ask key questions to get to the heart of your project:
- What is the primary business objective of this model? Is its main job to win a design competition, drive off-plan real estate sales, or secure planning approval from a government body? Each goal requires a different approach to detail and presentation. A model to help you double your sales is very different from one designed to win a competition.
- Who is the primary audience? Are you presenting to sophisticated investors, the general public, or a jury of architects? The audience determines the appropriate level of abstraction or realism.
- What is the single most important feature of the design? What is the one thing the model *must* communicate perfectly? This helps us focus our efforts on what truly matters.
Step 1.2: Assembling the Digital Dossier – The Language of Precision
To ensure a seamless and accurate start, we need a complete set of digital files from your design team. Providing a comprehensive package at the outset prevents delays and misunderstandings. Here is the essential checklist:
| Essential File Checklist for a New Project | ||
|---|---|---|
| File Type | Examples | Why We Need It |
| 2D CAD Files | AutoCAD (DWG, DXF) | Provides the precise, dimensionally accurate plans, elevations, and sections that form the model’s structural backbone. |
| 3D Model Files | Revit, SketchUp, Rhino, 3ds Max | Gives us a complete three-dimensional understanding of the building’s form, massing, and complex geometries. |
| Rendering Files | V-Ray, Corona, Lumion outputs (JPG, TIFF) | Shows us your design intent for materials, colors, and the overall mood and atmosphere you want to achieve. |
| Supporting Documents | Material Specs (PDF), Landscape Plans, Paint Color Codes (Pantone, RAL) | Allows us to perfectly match your specified finishes and create an accurate surrounding environment. |
Step 1.3: The Art and Science of the Proposal
A professional quote is not just a number; it is a detailed scope of work that demonstrates a deep understanding of your project’s complexity. Our proposals are built directly from the information gathered in the initial consultation and the files you provide. This ensures that our quote is not a rough estimate, but an accurate, all-inclusive plan with no hidden surprises. Every line item is a reflection of a specific cost driver, a topic we explore in our comprehensive guide: Unpacking the 5 Key Factors of Architectural Model Pricing.
Step 1.4: The Formal Project Kick-Off Call
The final step of this phase is a formal project kick-off call. This marks the official start of the project and the formation of the integrated client-maker team. It’s where your dedicated Project Manager is introduced, the communication protocol is confirmed, and the project timeline is reviewed and agreed upon. This formal alignment is a cornerstone of our international workflow, which we detail in Managing Overseas Model Projects: A Guide to Zero Obstacles.
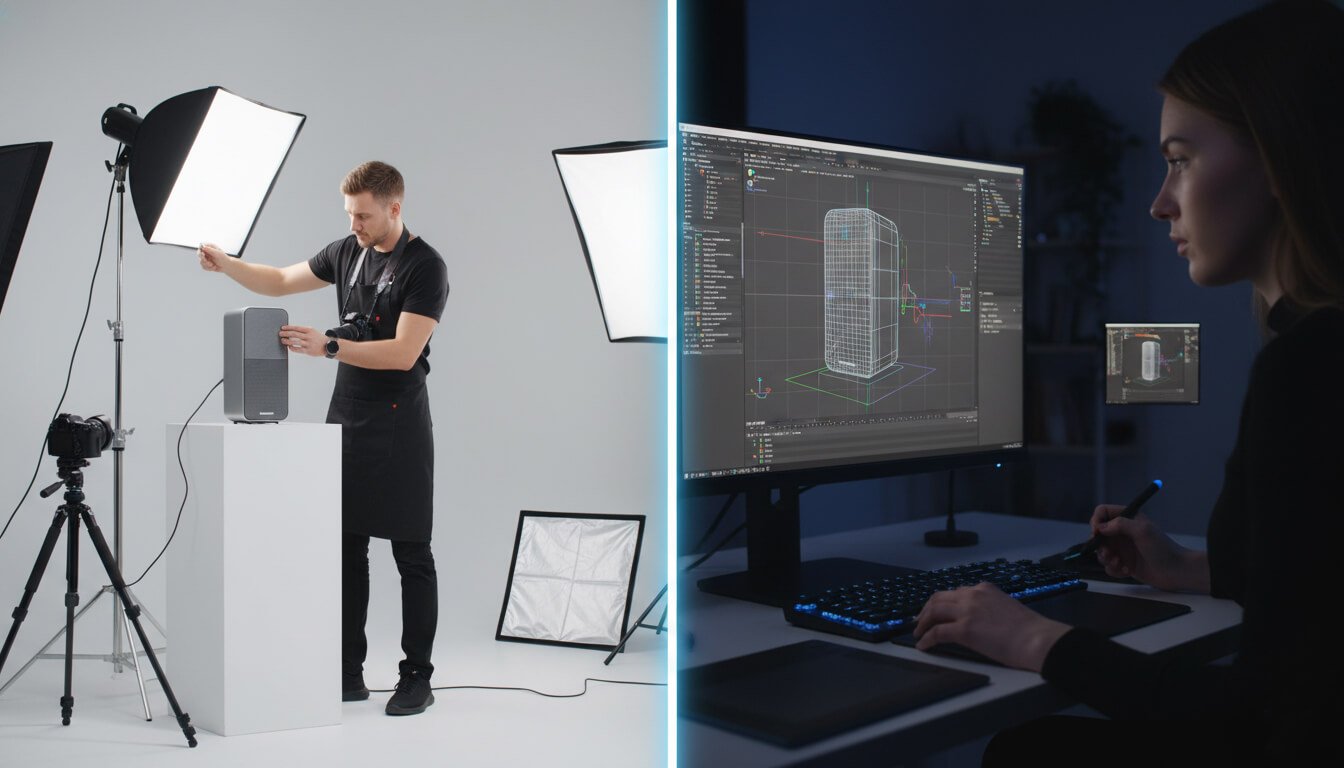
Phase 2: The Digital Twin – 3D Modeling and Client Proofing (Weeks 2-3)
This is the most critical risk-mitigation phase in the entire process. Before a single piece of physical material is touched, before any costs are sunk into fabrication, we build a perfect, 1-to-1 “digital twin” of the entire model. This approach ensures absolute accuracy and gives you, the client, complete control and confidence before the physical creation begins.
Step 2.1: The Meticulous Work of the CAD Team – From 2D Plans to a 3D Master File
This is a highly technical and detail-oriented process. Our specialized CAD team takes all of your project files—the 2D plans, the 3D massing models, the renderings—and meticulously constructs a single, unified, and highly detailed 3D master model. This is the definitive blueprint from which every physical piece will be fabricated.
“The digital model is the ultimate source of truth. If it’s perfect in the digital world, it will be perfect in the physical world.”
This process includes modeling every facade panel, every window mullion, every piece of interior furniture, and every landscape element. It also involves strategically planning the model’s internal structural support system and the optimal sectional splits that will allow for safe and easy shipping.
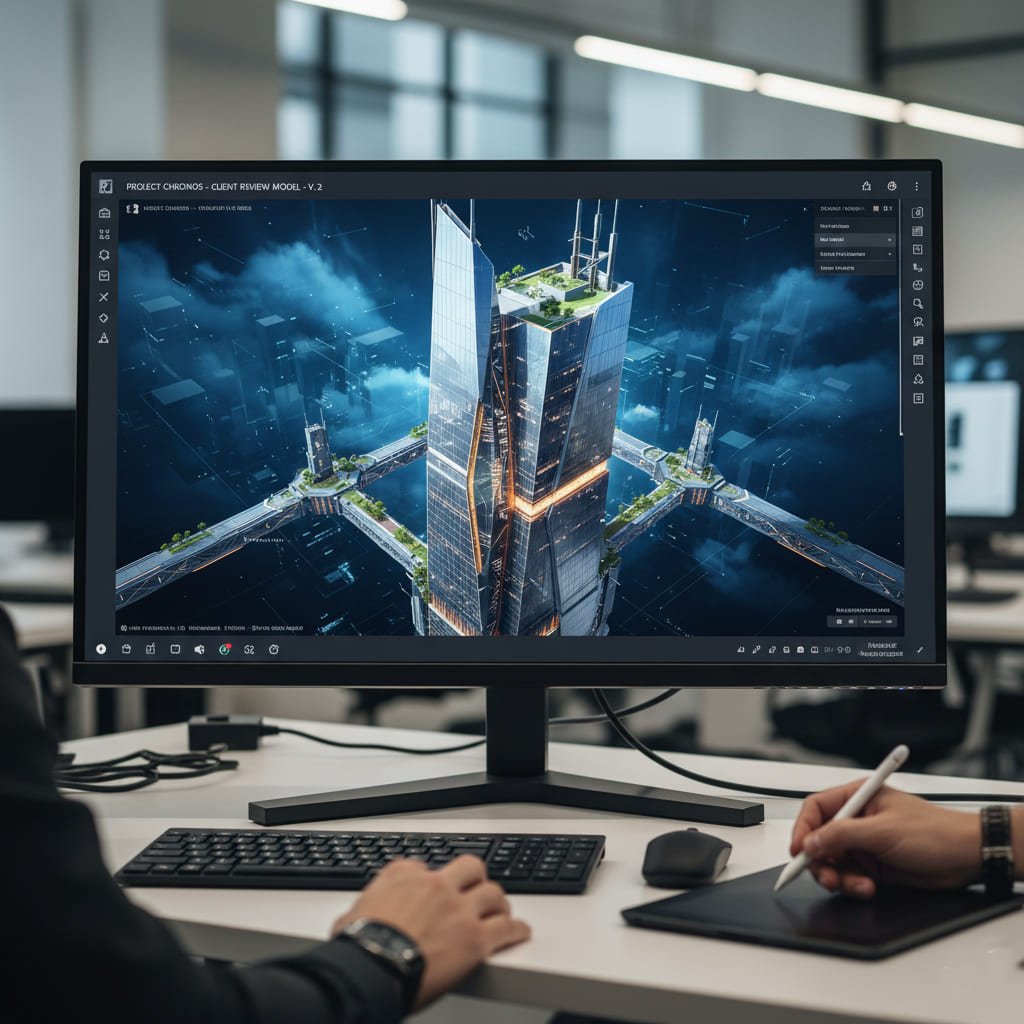
Step 2.2: The Most Important Milestone – The Digital Proofing Stage
We believe this is the client’s most powerful moment of control in the entire process. Once the 3D master file is complete, we send you a comprehensive set of multi-angle renderings for your formal review and sign-off. This is your opportunity to put on your detective hat and check every angle, every dimension, every color, and every detail for accuracy. The key benefit is simple: **this is the easiest, cheapest, and fastest time to make changes.** A design tweak that takes our CAD team a few hours to fix in the digital model could take weeks and cost thousands of dollars to fix once the model is physically built.
A Checklist for Reviewing Your Digital Proof
To empower you during this crucial stage, we encourage our clients to review the digital proof with a critical eye. Here is a professional checklist to guide your review:
| Client Checklist for Digital Proof Review | |
|---|---|
| Area to Check | What to Look For |
| Overall Scale & Massing | Does the building’s overall form and its relationship to the site context look correct? |
| Architectural Details | Are the window patterns, balcony railings, facade panels, and roof details exactly as per your design? |
| Material & Color Representation | Do the colors and textures shown in the rendering accurately reflect your material specifications and color codes? |
| Lighting Layout | Is the placement of interior and exterior lights correct? Does it match your intended lighting strategy? |
| Landscape & Context | Are the key landscape features, trees, and surrounding context buildings positioned correctly? |
Getting the scale right at this stage is absolutely critical. For a deeper understanding of this topic, please refer to our guide on Finding the Perfect Balance of Scale and Detail in Models.
Step 2.3: The Formal Sign-Off – Locking the Blueprint
The final step in this phase is the formal sign-off. We require a written approval (a simple email confirmation is sufficient) of the digital proof before any physical fabrication begins. This creates a clear, shared source of truth that both teams agree upon. It eliminates guesswork and creates a foundation of accountability for the rest of the project.
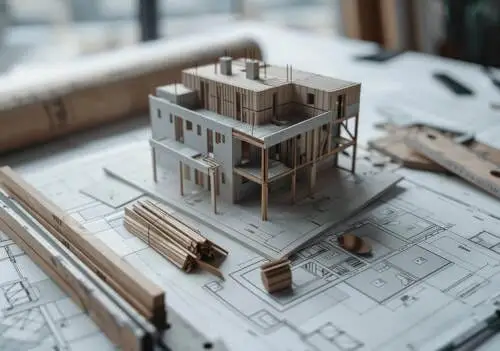
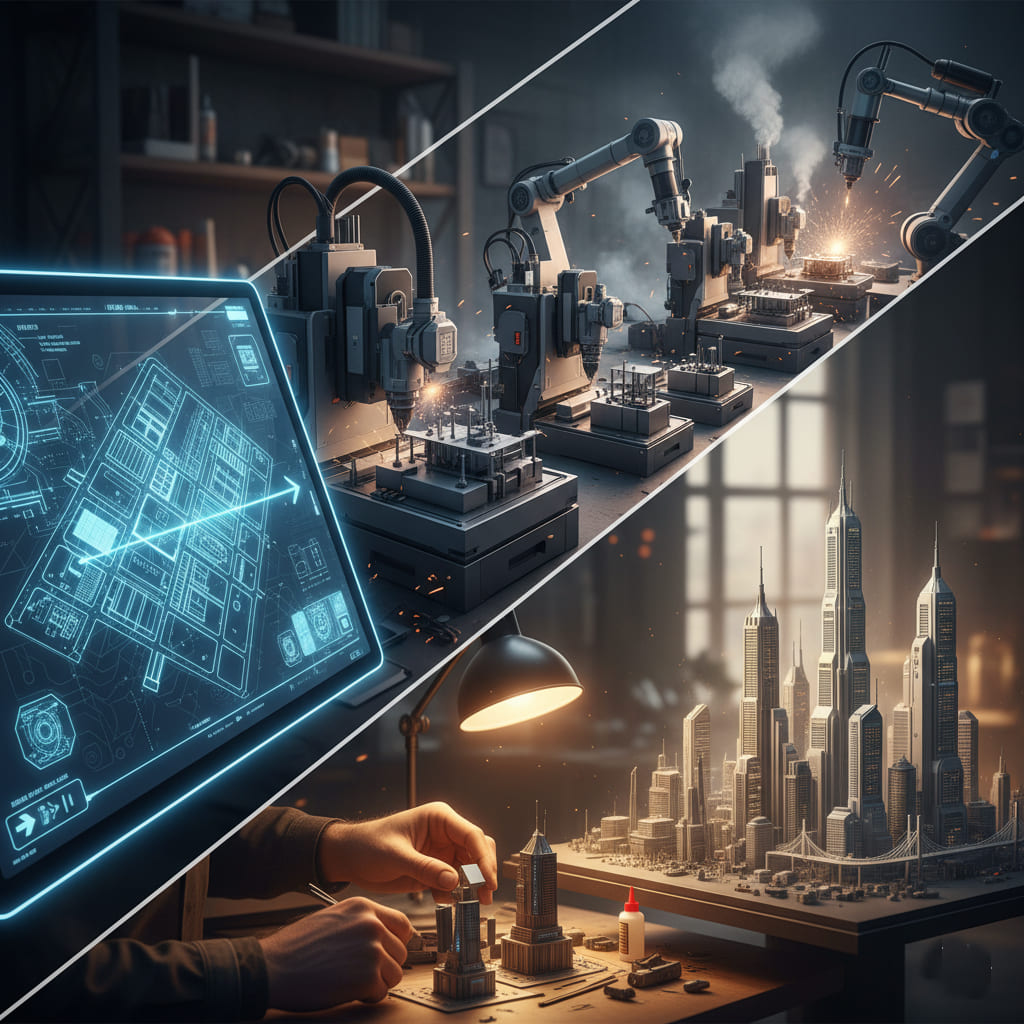
Phase 3: The Fabrication – Where Art Meets Machine (Weeks 3-9)
With the digital twin approved, the workshop comes to life. This is not a simple assembly line; it’s a carefully orchestrated symphony of different technologies and skills working in parallel to maximize efficiency and quality.
Step 3.1: The Hybrid Workflow in Action
Our core philosophy is to use the best tool for every job. We seamlessly blend the unerring precision of digital fabrication machines with the irreplaceable soul and skill of the artisan. This synergy is the key to world-class quality, a philosophy we explore in depth in Modern Craft vs. Traditional Handwork in Model Making.
- The Foundation (CNC Milling): For models with complex terrain, the process begins with a 5-axis CNC mill carving the topographical base from a solid block of high-density foam, ensuring perfect contour accuracy.
- The Structure (Laser Cutting): Simultaneously, our laser cutting department is precisely cutting the model’s internal structural framework and all the individual floor plates from acrylic or wood sheets. This guarantees perfect alignment and stability.
- The Soul (3D Printing): At the same time, our fleet of industrial-grade SLA 3D printers is running 24/7, fabricating the most complex and detailed components, such as intricate facade screens, unique furniture, or custom sculptural elements. For a full look at this technology, see The Ultimate Guide to 3D Printing Architectural Models.
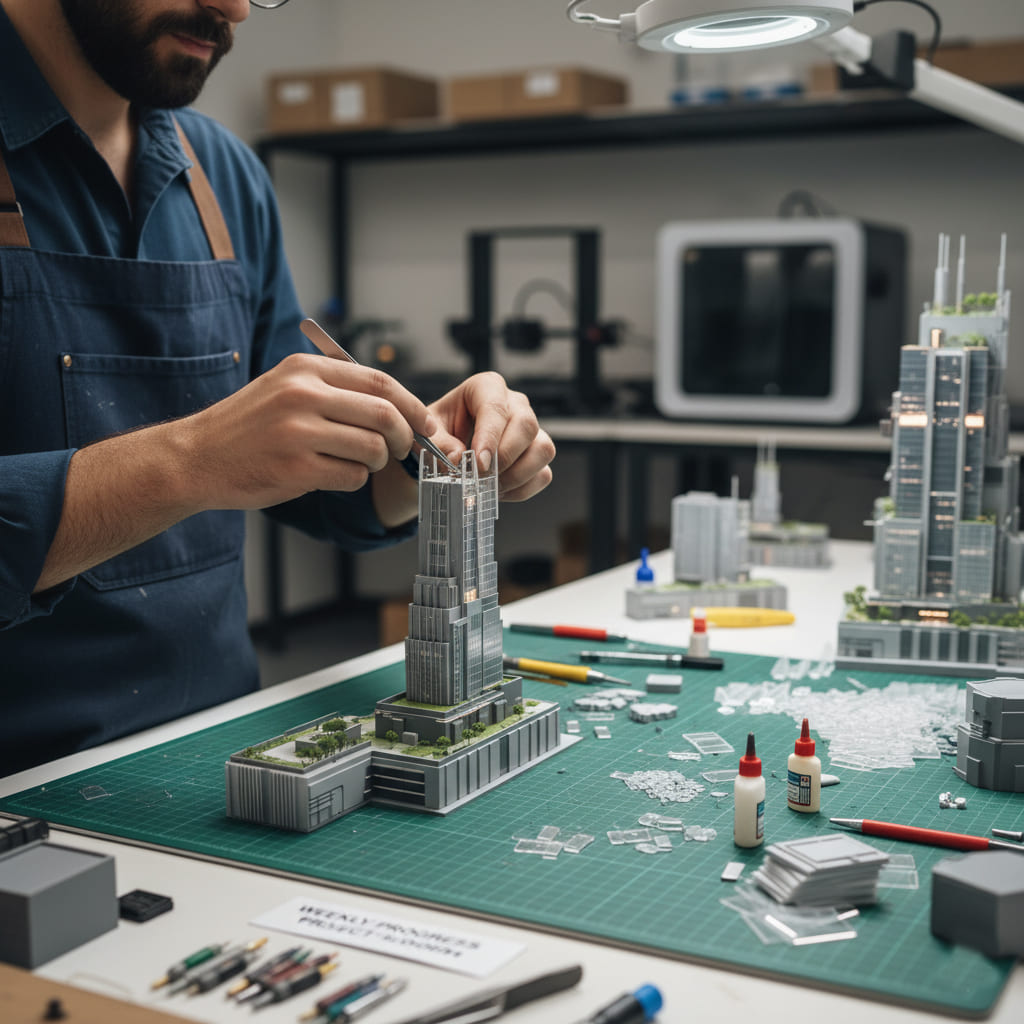
Step 3.2: Radical Transparency – The Weekly Progress Report
Throughout the fabrication phase, we maintain our commitment to keeping you fully in the loop. Every Friday without fail, your dedicated Project Manager compiles and sends a detailed progress report. This report includes high-resolution photos from the workshop floor, short video clips of key processes, a summary of the work completed, and a look ahead to the next week’s goals. This regular, predictable communication eliminates the “black box” feeling and gives you complete peace of mind, knowing your project is on track.
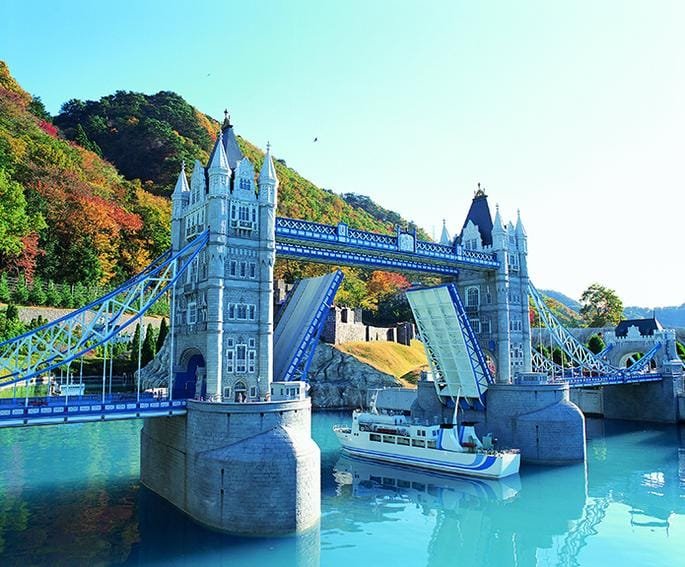
Phase 4: The Artistry – Finishing, Assembly, and Landscaping (Weeks 9-11)
With the raw components fabricated with machine precision, the focus now shifts to the high-touch, artisanal skills that transform a collection of plastic and wood parts into a believable and breathtaking miniature world.
Step 4.1: The Flawless Finish – The Science of Painting
A perfect paint job is a hallmark of a high-end model. Our process takes place in dedicated, dust-free spray booths, similar to those used for luxury automobiles. Our master painters apply multiple thin layers of automotive-grade primer and paint, wet-sanding between each coat to achieve a perfect, glass-smooth finish. Before any paint is applied to the final model, we conduct a color-matching process, where we get your formal sign-off on a painted sample against a physical RAL or Pantone color chip. For a deeper dive, see our Comprehensive Guide to Model Materials and Finishes.
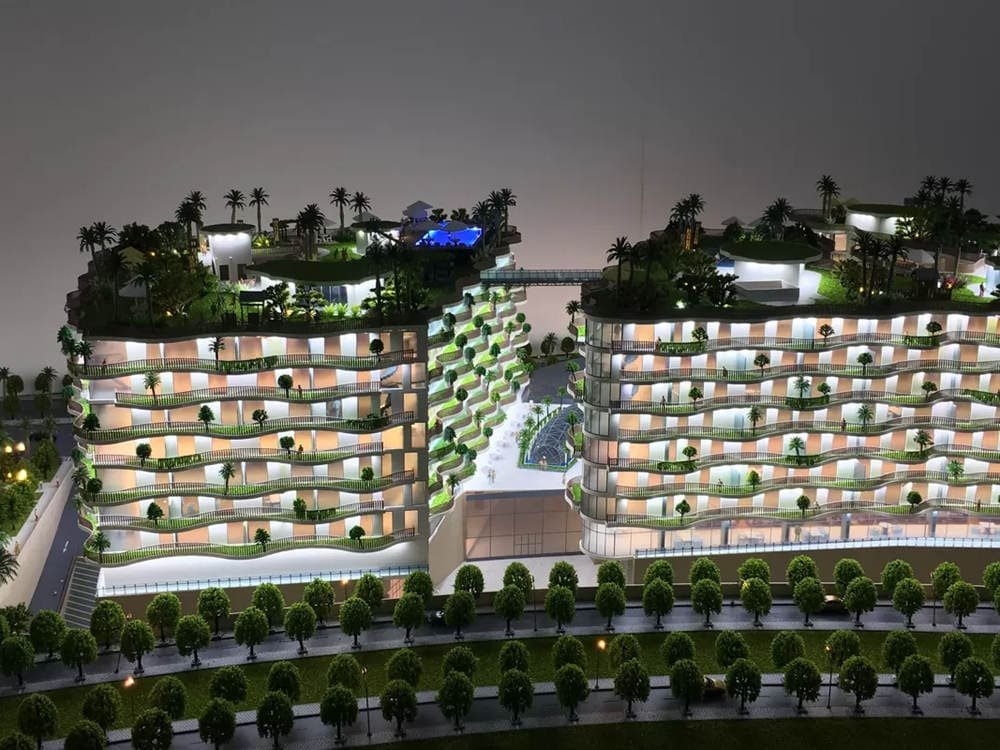
Step 4.2: Creating a Living World – The Secrets of Landscaping
This is a key area of expertise that truly sets a world-class model apart. Our approach to landscaping is an art form.
- Trees: We do not use generic, off-the-shelf “lollipop” trees. Our team of landscape artisans hand-makes hundreds of unique trees, using twisted wire for the armatures and fine flock of various colors and textures for the foliage, accurately replicating the specific species from your landscape plan.
- Water: We use a variety of techniques to create hyper-realistic water, from multi-layered, tinted resin pours to create a sense of depth in a marina, to using high-gloss, laser-engraved acrylic to simulate the ripples on a swimming pool.
We reveal more of these techniques in our specialized guide, The Secrets of Realistic Model Landscaping.
Step 4.3: The Grand Assembly – A Puzzle of a Thousand Pieces
This stage requires immense patience and skill. Our assembly team, often working with magnifiers and fine tools, brings all the individually painted and finished components together. Their focus is on creating clean, almost invisible seams, ensuring perfect alignment, and maintaining the model’s structural integrity.
Step 4.4: The Spark of Life – Electronics and Lighting Integration
The final step in assembly is the delicate process of installing the lighting system. Our specialized electronics team carefully threads thousands of hair-thin, insulated wires through pre-drilled micro-channels. They connect each of the hundreds or thousands of micro-LEDs to the central control board housed in the model’s base, testing each circuit as they go. This is a critical step, and we explain its power in The Strategic Use of Lighting in Architectural Models.
Phase 5: The Final Mile – Quality Control and Global Logistics (Week 12)
The final phase is all about absolute certainty: certainty of quality and certainty of a safe arrival.
Step 5.1: The Multi-Point Quality Control (QC) Inspection
Before the model is ever presented to you for final approval, it undergoes a rigorous internal QC inspection. This is performed by a senior project lead who was not involved in the day-to-day build, providing a fresh and unbiased pair of eyes. They check the model against a detailed, multi-point checklist.
| The Final QC Inspection Checklist | |
|---|---|
| Check Category | Key Inspection Points |
| Dimensional Accuracy | Is every element of the model true to the approved digital twin? |
| Finish Quality | Is the paint finish flawless? Are all surfaces clean and free of blemishes? |
| Structural Integrity | Are all joints secure? Are there any loose or fragile components? |
| Electronics & Lighting | Does every light and every interactive feature function perfectly? |
| Landscaping & Detailing | Is every landscape element and piece of entourage securely in place and accurate? |
Step 5.2: The Final Sign-Off – Your Virtual Unveiling
Once the model has passed our internal QC, we conduct the virtual unveiling. We provide you with a complete set of professional, high-resolution photographs and a 360-degree video of the finished, fully illuminated model. We do not proceed to packing until we have received your final, enthusiastic, written approval.
Step 5.3: The Science of “Bulletproof” Logistics
This is a core competency that directly addresses a major client anxiety. Our professional packing and shipping process is a science.
“Amateurs pack. Professionals engineer a logistics solution.”
This involves a custom-built, ISPM 15 compliant wooden crate with a “floating base” foam system, meticulous customs documentation to prevent delays, and all-risk, door-to-door insurance. We have perfected this process over thousands of international shipments, a topic we cover in its own definitive guide: The Ultimate Guide to Safe International Model Shipping.
Conclusion: The Process is the Promise
The “magic” of transforming a set of digital files into a breathtaking physical masterpiece is, in fact, the result of a highly refined, transparent, and client-focused process. It is a journey that begins with a strategic conversation and ends with a flawless delivery, with clear communication and client control at every step.
The process *is* our promise. A world-class process, built on a foundation of clear communication, deep technical expertise, and a powerful synergy of machine precision and human artistry, is the only way to guarantee a world-class result, every single time. By trusting our process, you can be absolutely confident in the final outcome.
Ready to See Our Process in Action?
If you’re ready to see how our proven, transparent process can bring your next project to life with unparalleled quality and complete peace of mind, contact our team. We would be happy to walk you through a free, no-obligation consultation.