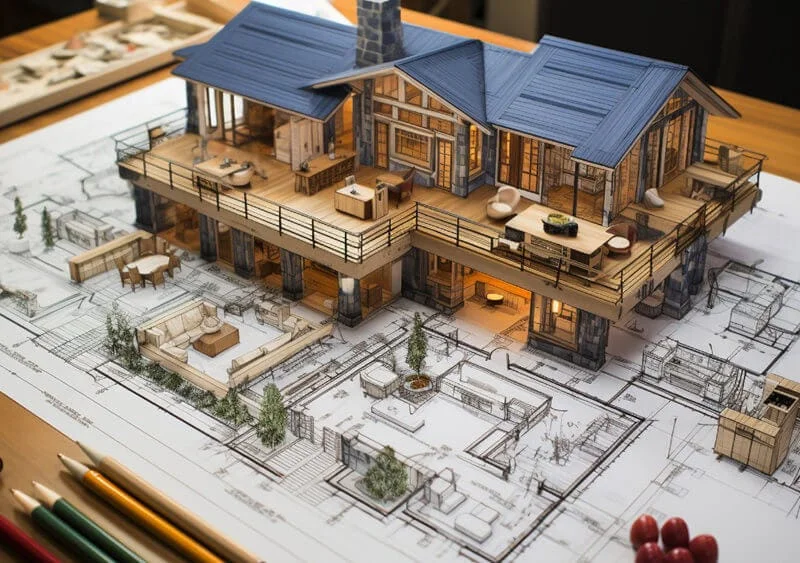
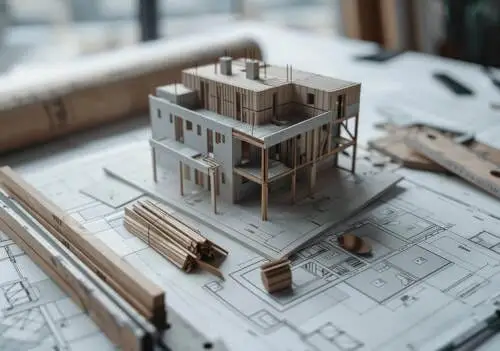
Fabricación de modelos arquitectónicos. Es una habilidad crucial para cualquier persona involucrada en el mundo del diseño y la construcción.. Si eres estudiante, un profesional experimentado, o simplemente un aficionado, Crear un modelo bien hecho puede cambiar las reglas del juego.. Es como darle vida a tus planos! Estas estructuras en miniatura hacen más que simplemente verse geniales – te ayudan a detectar posibles problemas, muestra tu diseño a los clientes, e incluso ayudar a asegurar la financiación para sus proyectos. Piénsalo así: una imagen puede valer más que mil palabras, pero un modelo vale un millón.
Esta guía está repleta de consejos y trucos prácticos que te ayudarán a mejorar tu juego de creación de modelos.. Repasaremos todo, desde las etapas iniciales de planificación hasta las finales., detalles intrincados. Más, Veremos algunas técnicas avanzadas interesantes para cuando estés listo para llevar las cosas al siguiente nivel.. No importa dónde te encuentres en tu viaje arquitectónico, esta guía tiene algo para ti.
Tabla de contenido
Planificación y preparación
Definición del propósito y alcance
1. Comprender el objetivo del modelo:
¿Estás tratando de explorar un concepto?, refinar un diseño, o sorprender a un cliente? Tal vez esté intentando conseguir financiación o entusiasmar al público con un nuevo proyecto.. Cada uno de estos objetivos exige un enfoque diferente en la creación de modelos.. Piense en ello: un modelo para una sesión rápida de lluvia de ideas será muy diferente al que le presentaría a un inversor potencial.
- Exploración conceptual: Mantenlo simple y flexible.
- Desarrollo de diseño: Centrarse en elementos de diseño específicos y en cómo funcionan juntos..
- Presentación del cliente: Apunta a un pulido, modelo detallado que muestra las mejores características del proyecto.
- Marketing: Cree un modelo visualmente impresionante que capte la atención y genere interés..
2. Determinar el nivel de detalle:
¿Qué tan complejo debe ser tu modelo?? La respuesta depende de para qué la estés usando.. Un modelo conceptual puede ser bastante básico., mientras que un modelo de presentación necesita mostrar todos los detalles. Si está creando un modelo para presumir ante los clientes, querrás incluir más detalles, como muebles pequeños o paisajismo. Pero si es sólo para que pruebes ideas, puedes mantenerlo simple.
3. Considere la audiencia:
Elegir la escala adecuada
1. Comprender las proporciones de escala:
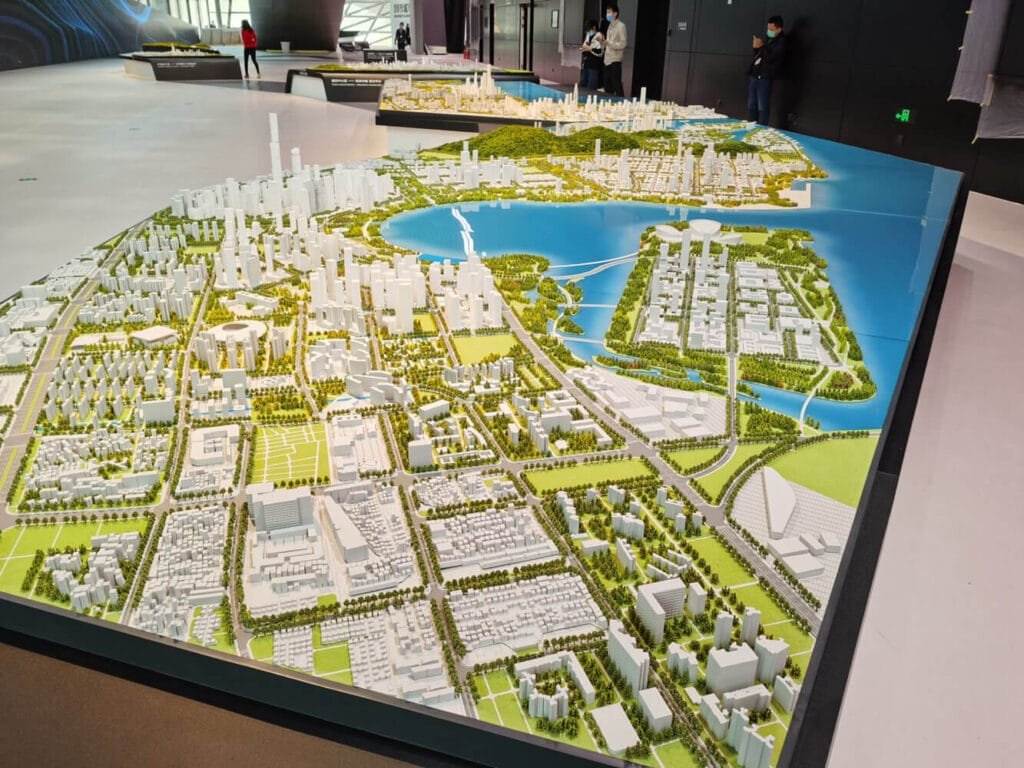
Los modelos arquitectónicos utilizan diferentes escalas., como 1:10, 1:50, o incluso 1:500 para modelos de planificación urbana. Qué significa eso? Bien, a 1:10 La escala significa que cada centímetro de tu modelo representa 10 pulgadas en la vida real. Cada escala tiene su propio propósito.. Si estás modelando una habitación individual, 1:10 o 1:25 podría ser mejor. para una casa, tal vez quieras 1:50 o 1:100. Para toda una manzana de la ciudad? Podrías ir tan pequeño como 1:500 o incluso 1:2500.
He aquí un vistazo rápido a las escalas comunes.:
| Escala | Uso típico |
|---|---|
| 1:10 | Detalles interiores, muebles |
| 1:25 | Diseños de habitaciones interiores |
| 1:50 | Viviendas unifamiliares, pequeños edificios |
| 1:100 | Edificios más grandes, pequeños complejos |
| 1:200 | rascacielos, complejos más grandes |
| 1:500 | manzanas de la ciudad, planificación urbana |
| 1:2500 | Planificación urbana a gran escala, modelos regionales |
2. Seleccione la escala adecuada:
Crear un plan de tiempo y un presupuesto
1. Desarrollar un cronograma realista:
2. Estimar los costos de materiales:
3. Priorizar las características clave:
Si tiene un presupuesto ajustado o tiene una fecha límite, es posible que no puedas hacer todo lo que quieres. eso esta bien! Solo concéntrate en las partes más importantes del diseño.. ¿Cuáles son las características clave que realmente venden tu idea?? Tal vez sea una línea de techo única o un patio interior fresco. lo que sea, Asegúrate de que esos elementos brillen en tu modelo.. Siempre puedes agregar más detalles más adelante si tienes tiempo y dinero..
Reúna dibujos de diseño y referencias
1. Utilice planos y elevaciones precisos:
Esto es súper importante. Necesita imprimir sus dibujos arquitectónicos a la escala adecuada. Estas serán tus plantillas, entonces la precisión es clave. Y asegúrese de tener algunas copias a mano.. Nunca se sabe cuándo podría necesitar una copia de seguridad. Un buen consejo es imprimir copias adicionales de tus planos.. De esa manera, puedes cortarlos y usarlos como plantillas sin preocuparte por estropear tus dibujos originales.
2. Utilizar modelos digitales:
Selección de material
Elegir materiales según el tipo de modelo y el propósito
1. Modelos conceptuales:
2. Modelos de trabajo:
3. Modelos de presentación:
Explorando diferentes opciones de materiales
1. Papel y cartón:
Estas son sus opciones para modelos rápidos y fáciles. La cartulina es excelente por su flexibilidad y viene en diferentes colores.. El aglomerado es más grueso y bueno para estructuras resistentes.. El tablero Kraft es súper resistente y perfecto para modelos más grandes..
Aquí tienes una tabla sobre Papel y Cartón.:
| Material | Descripción | El mejor uso |
|---|---|---|
| Cartulina | Flexible, viene en varios colores, más grueso que el papel normal | Modelos rápidos, superficies curvas |
| Cartón madera | Más grueso que la cartulina, robusto, A menudo viene en dos o tres hojas. (dúplex o triplex) | Elementos estructurales, modelos básicos |
| tablero kraft | Acérrimo, rígido, se puede cortar limpiamente | Modelos a gran escala, estructuras duraderas |
| Cartulina | Ligero, reciclable, excepcionalmente flexible | Agregar detalles luminosos como carreteras, caminos, terrenos |
2. Madera:
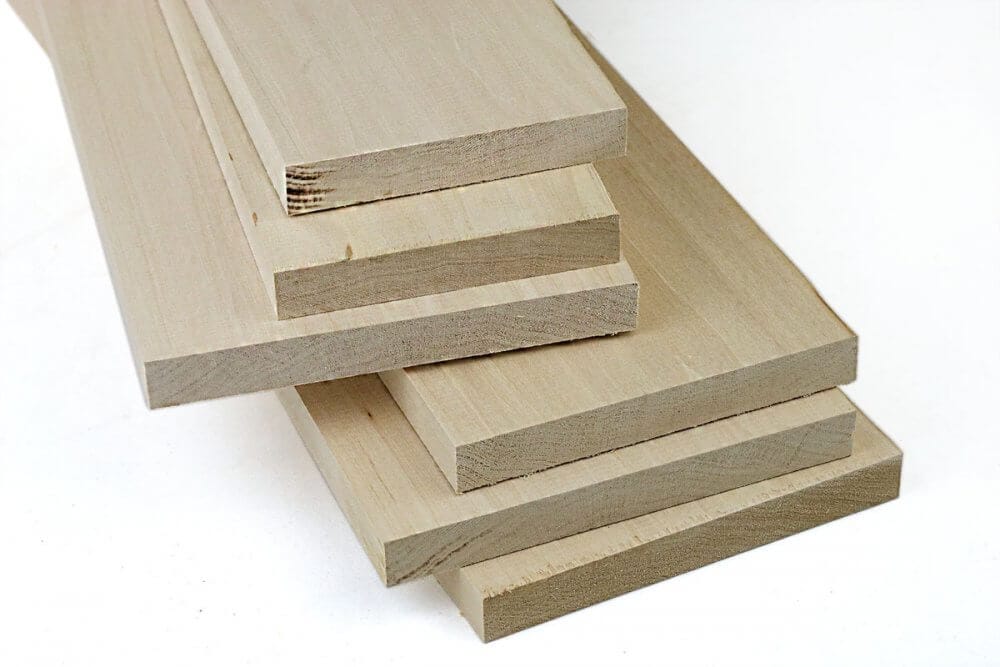
La madera aporta un toque natural., sensación cálida a tus modelos. La madera de balsa es una de las favoritas porque es liviana y fácil de cortar.. El tilo es más denso y tiene una veta más fina., haciéndolo bueno para trabajos detallados. El MDF es pesado y mejor para bases.. Es muy fácil trabajar con balsa; Incluso puedes cortarlo con un cuchillo artesanal.!
Aquí hay una tabla sobre la madera.:
| Material | Descripción | El mejor uso |
|---|---|---|
| Madera de balsa | Ligero, fácil de cortar, Viene en paneles o tiras delgadas. | Estructura, estructuras detalladas, Se puede cortar a mano o con láser. |
| Bosque | Más denso y pesado que la balsa., grano fino | Trabajo detallado, listones de madera de grano fino |
| MDF (Tablero de fibra de densidad media) | Grueso, denso, pesado, buen acabado | bases modelo, grandes modelos arquitectónicos |
| Corcho | Acabado natural, flexible pero rompible | Modelado de sitios montañosos, se puede colocar en capas para terrenos |
3. Espuma:
La espuma es fantástica para modelos de masa rápida.. El tablero de espuma viene en diferentes espesores y colores y es muy fácil de cortar.. tablero aislante, también conocida como espuma azul, es genial para modelos conceptuales. La tabla Gator es un poco más elegante: es liviana pero también resistente a la humedad.
Aquí hay una tabla sobre espuma.:
| Material | Descripción | El mejor uso |
|---|---|---|
| Tabla de espuma | Ligero, viene en varios espesores y colores, acabado liso | Modelos de concentración, paredes, bases |
| Tablero de aislamiento (Espuma azul) | Ligero, fácil de modelar con, viene en varios colores (azul, gris, rosa, marrón) | Modelos conceptuales, modelos de sitio (espuma marrón) |
| tablero de cocodrilo | Ligero, acabado liso, resistente a la humedad | Modelos de alta calidad, presentaciones |
4. Plástica:
Los plásticos ofrecen una limpieza, aspecto moderno. Las láminas acrílicas son perfectas para ventanas y fachadas por su acabado brillante. El ABS es súper duradero y excelente para el corte por láser.. Las láminas de PVC son buenas para representar elementos transparentes.. El acrílico es un poco más complicado de trabajar., pero los resultados valen la pena!
Aquí hay una tabla sobre Plásticos.:
| Material | Descripción | El mejor uso |
|---|---|---|
| Sábanas acrílicas | Liso, acabado brillante, viene en varios espesores | Windows, fachadas, modelos de aspecto moderno |
| Abdominales (Acrilonitrilo butadieno estireno) | Durable, se disuelve en acetona, se fusiona perfectamente | Modelos cortados con láser, partes detalladas |
| Hojas de PVC | Rígido, Se utiliza para representar partes transparentes y translúcidas. | Windows, elementos transparentes |
5. Metal:
6. Arcilla y Plastilina:
Considerando las propiedades de los materiales
1. Durabilidad y longevidad:
2. Facilidad de cortar y dar forma:
3. Acabado superficial y textura:
4. Compatibilidad con Adhesivos y Pinturas:
Uso de materiales de modelos arquitectónicos prefabricados
1. Elementos de paisajismo:
2. Figuras y Vehículos:
3. Muebles y accesorios:
Selección y uso de herramientas
Herramientas de corte esenciales
1. Cuchillos de corte:
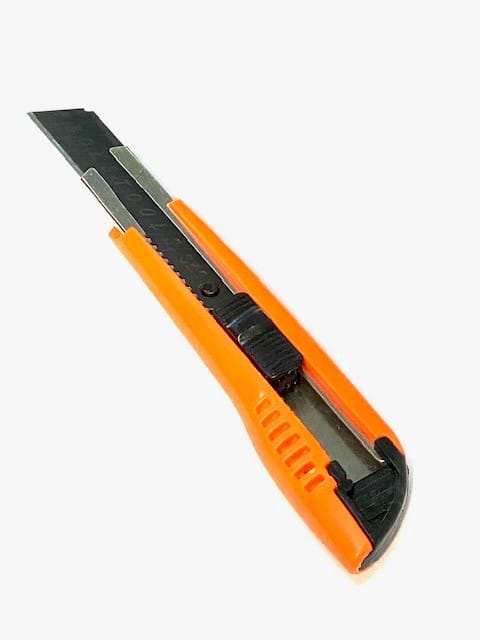
Estos son tus caballos de batalla. Los usarás para todo, desde marcar tableros de espuma hasta cortar detalles intrincados.. El cuchillo Olfa de 9 mm es una excelente opción versátil. Tiene una hoja ajustable, para que puedas usar solo la punta para detalles finos o extenderla para materiales más gruesos. El cuchillo X-Acto es perfecto para cortes súper precisos. Pero ten cuidado, son extremadamente agudos!
Aquí tienes un consejo: Utilice siempre una hoja nueva.. Una hoja sin filo es más peligrosa que una afilada porque hay que utilizar más fuerza., lo que puede provocar resbalones y accidentes, corte siempre lejos de usted mismo y mantenga los dedos alejados del camino de la hoja..
2. Tijeras:
3. Reglas metálicas:
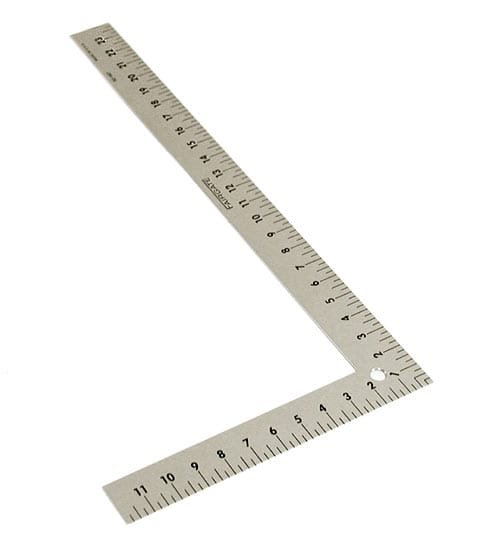
4. L-Cuadrados:
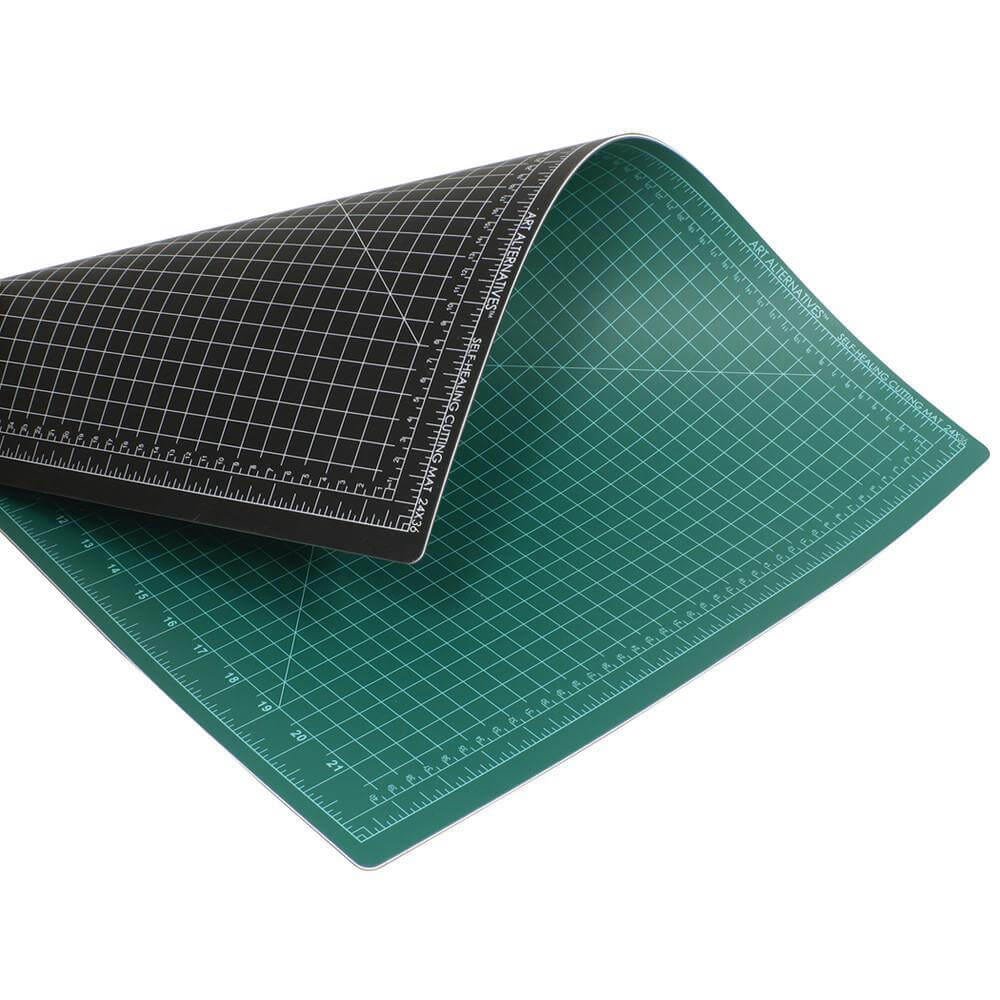
5. Tapetes de corte autorreparables:
Herramientas de montaje y adhesivos
1. Selección de pegamento:
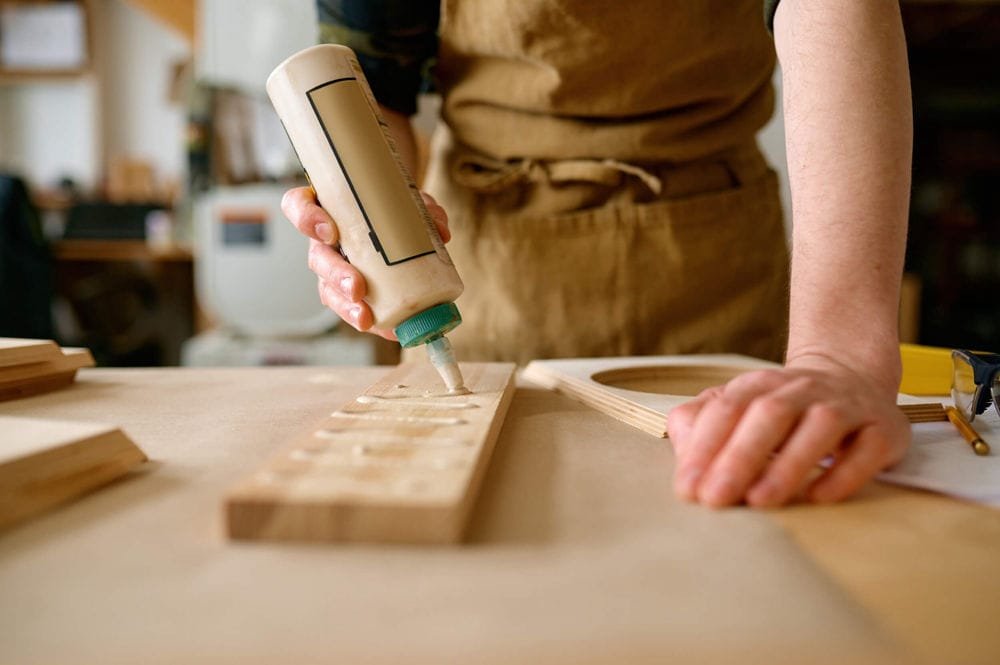
Elegir el pegamento correcto es crucial. Aquí hay un resumen rápido:
He aquí un vistazo rápido al pegamento común.:
| Tipo de pegamento | Descripción | Mejor para |
|---|---|---|
| Barras de pegamento | Barato, fácil de usar, no muy fuerte | Unión temporal, papel |
| Pegamento blanco | No tóxico, propósito general, se seca claro | Papel, cartulina, madera (trabajo liviano) |
| pegamento pegajoso | Más grueso que el pegamento blanco, más fuerte, secado más rápido | La mayoría de los materiales, fabricación de modelos generales |
| Pegamento caliente | Secado más rápido, vínculo fuerte, puede ser desordenado | Soluciones rápidas, fijación de elementos de paisajismo |
| Pegamento para madera | Específicamente para madera, vínculo fuerte, manchas si no se limpia | Modelos de madera, elementos estructurales |
Barras de pegamento: Estos están bien para arreglos rápidos o para pegar papel., pero no son muy fuertes.
Pegamento blanco: Este es tu básico, pegamento para todo uso. Funciona con muchos materiales., pero tarda un poco en secarse.
pegamento pegajoso: Es como el pegamento blanco pero más fuerte y de secado más rápido.. Es una buena opción versátil para la fabricación de modelos..
Pegamento caliente: Esto se seca súper rápido., que puede ser bueno y malo. Es genial para soluciones rápidas., pero hay que trabajar rápido. Ten cuidado, aunque hace calor! Me he quemado más veces de las que quisiera admitir.
Pegamento para madera: Si estás trabajando con madera, necesitas pegamento para madera. Crea un vínculo súper fuerte..
2. Aplicación de pegamento:
3. Cinta de doble cara:
4. Pinzas:
Otras herramientas útiles
1. Papel de lija:
2. Alicates para modelar:
3. Cepillo para quitar el polvo:
4. Herramienta de corte de acrílico
Técnicas y consejos de construcción
Técnicas de corte
1. Puntuación y chasquido:
2. Usando plantillas:
3. Orden de corte:
4. Mantenimiento de cuchillas afiladas:
Técnicas de montaje
1. Montaje en seco:
2. Estrategias de pegado:
3. Capas y refuerzo:
4. Agregar textura y color:
2. Crear ventanas y puertas:
para ventanas, utilizar láminas de plástico transparente. Puedes comprarlos en la mayoría de las tiendas de manualidades o en línea.. Córtelos a medida y péguelos en su lugar.. Para puertas, Puedes usar el mismo material que tus paredes., o puedes usar algo diferente para resaltarlos. Incluso puedes añadir pequeños detalles como pomos de puertas o bisagras para que parezcan más realistas..
Aquí tienes un consejo: Si estás modelando un edificio con muchas ventanas, crear una plantilla para las aberturas de las ventanas. Esto asegurará que todas sus ventanas tengan el mismo tamaño y forma..
3. Incorporando paisajismo:
4. Agregar figuras y vehículos:
Técnicas Avanzadas
Corte con láser
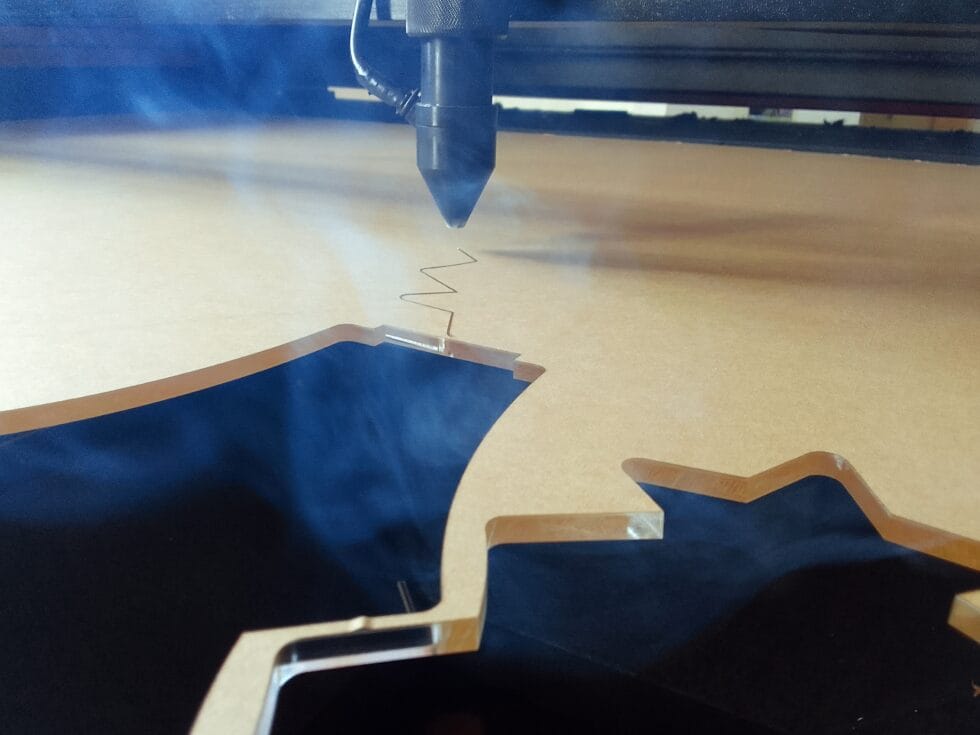
El corte por láser es una excelente manera de crear precisión., partes intrincadas. Es especialmente útil para cortar materiales finos como el acrílico., madera, y algunos plasticos.
Aquí tienes un consejo: Si estás usando una cortadora láser, Asegúrese siempre de que la configuración sea correcta para el material que está utilizando.. Usar una configuración incorrecta puede dañar el material o incluso provocar un incendio..
1. Preparando archivos:
2. Consideraciones materiales:
3D impresión
1. Preparación del modelo:
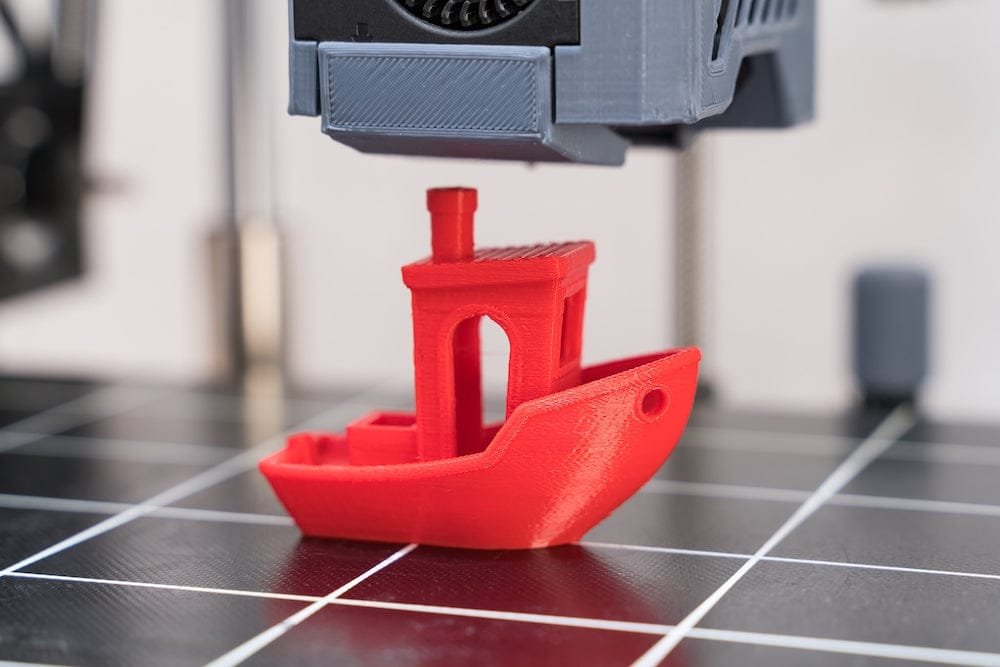
Para imprimir una pieza en 3D, necesitarás un modelo 3D. Puedes crear uno en programas como Blender., Bosquejo, o Tinkercad. Asegúrate de que tu modelo sea “estanco,” lo que significa que no tiene agujeros ni huecos. Hay muchas opciones gratuitas de software de modelado 3D disponibles en línea.. También puedes encontrar modelos 3D prefabricados online que puedes utilizar en tus proyectos..
2. Opciones de materiales:
Presentación y Mantenimiento
Creando una base
1. Elegir materiales:
2. Terminando la base:
3. Agregar contexto:
Iluminación
La iluminación puede marcar una gran diferencia en el aspecto de tu modelo.. Puede resaltar ciertas características., crear sombras, y agregar drama. Esto realmente puede ayudar a mostrar su diseño y hacerlo más atractivo..
1. Mejorar el realismo:
2. Tipos de iluminación:
Fotografía
1. Usando un fondo simple:
2. Iluminación adecuada:
3. Configuración de la cámara:
Mantenimiento
1. Limpieza:
2. Almacenamiento:
3. Protección
Conclusión
Hacer modelos es un viaje, no es un destino. lleva tiempo, paciencia, y practicar. Pero con la planificación adecuada, materiales, herramientas, y técnicas, Puedes crear modelos increíbles que darán vida a tus diseños.. No tengas miedo de experimentar y probar cosas nuevas.. Y lo más importante, divertirse! Recordar, Cada modelo que construyes es una experiencia de aprendizaje..
Listo para llevar tus habilidades de creación de modelos al siguiente nivel? Comience su próximo proyecto hoy! Explore nuestro sitio web para profundizar en temas relacionados, como técnicas de dibujo arquitectónico, el mejor software de arquitectura, concursos de diseño arquitectónico, diseño paramétrico, o incluso las mejores prácticas de diseño urbano.. Puedes encontrar enlaces a proveedores., fabricantes, y otros recursos útiles.
q&una sección
Abordemos algunas preguntas comunes sobre la creación de modelos arquitectónicos.:
q: ¿Cuál es el propósito de la fabricación de modelos arquitectónicos??
A: Se trata de dar vida a los diseños! Los modelos ayudan a los arquitectos a explorar ideas., refinar diseños, y comunicar conceptos a los clientes y al público.. También se utilizan para marketing., asegurar la financiación, e incluso como herramientas de presentación.
q: ¿Qué escala se utiliza en la mayoría de los modelos arquitectónicos??
A: Depende del proyecto, pero las escalas comunes van desde 1:10 para interiores detallados 1:500 o 1:2500 para la planificación urbana. Las escalas más pequeñas se utilizan para proyectos más grandes..
q: ¿Cuáles son los materiales adecuados a utilizar en un modelo arquitectónico??
A: El mejor material depende del tipo de modelo y de tu presupuesto.. Espuma, cartulina, y el papel son excelentes para modelos conceptuales.. Madera, acrílico, y los tableros de espuma de alta calidad son buenos para los modelos de presentación.. Hay toneladas de opciones, desde madera de balsa y tilo hasta láminas acrílicas y PVC.
q: ¿Cuáles son las herramientas adecuadas para cortar y ensamblar en la fabricación de modelos??
A: Necesitarás cuchillos para cortar (Olfa 9mm, X-Acto), tijeras, reglas de metal, Cuadrados en L, una estera de corte autorreparable, y varios pegamentos (pegamento blanco, pegamento pegajoso, pegamento caliente, pegamento para madera). Las pinzas y un pincel de dibujo también son muy útiles..
q: ¿Cómo se hace un buen modelo arquitectónico??
A: Planifique cuidadosamente, Elija la escala y los materiales correctos., usar herramientas afiladas, y tómate tu tiempo. La práctica hace la perfección! Presta atención a los detalles, usar plantillas para elementos repetidos, y no tengas miedo de experimentar.
q: ¿Cómo se presenta un modelo arquitectónico??
A: Crea una base resistente, considere el contexto, y utiliza la iluminación a tu favor. Asegúrese de que el modelo esté limpio y en buen estado.. Piensa en la historia que quieres contar con tu modelo..
q: ¿Cómo se fotografían modelos arquitectónicos??
A: Usa un fondo simple, buena iluminacion (naturales o artificiales), y un trípode. Ajuste la configuración de su cámara para obtener un enfoque y una profundidad de campo óptimos. Toma fotografías desde múltiples ángulos.
q: ¿Cómo planifico un modelo arquitectónico??
A: Define tu objetivo, elige la escala correcta, crear un cronograma y un presupuesto, y reunir todos los dibujos y referencias necesarios. Piense en su audiencia y el nivel de detalle necesario.


