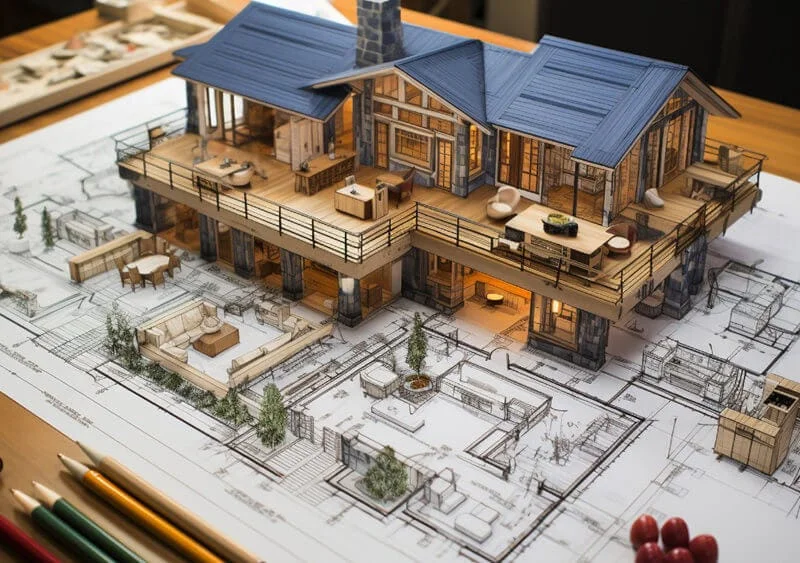
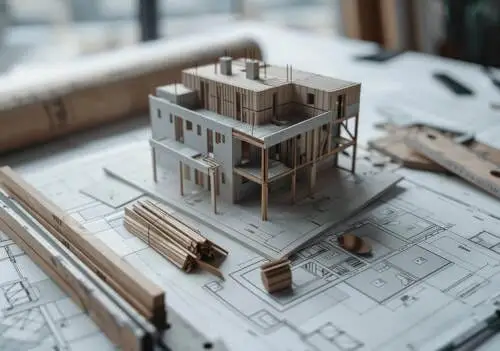
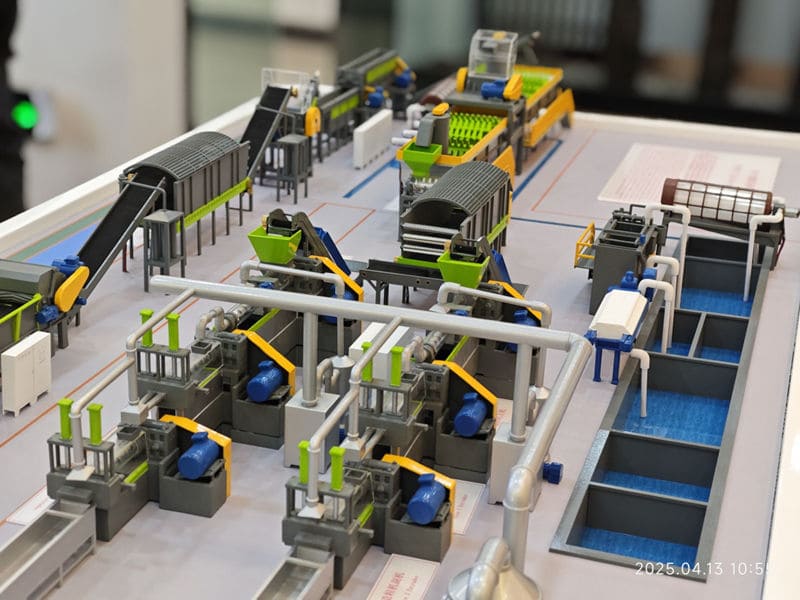
Bayangkan ini: Minggu, maybe months, of meticulous work poured into a stunning architectural model. It’s ready to wow clients and investors. Tapi kemudian, disaster strikes during transport. A broken piece, a cracked façade – all that effort, seemingly for nothing. Sound scary? It is. Model Arsitektur are more than just pretty things; they are vital tools. That’s why getting them to their destination safely is super important. This guide shows you how to make sure your models arrive in perfect condition. Think of it as your model’s personal bodyguard!
Whether you’re an architect presenting your vision, or an investor trying to reel in customers, architectural models are indispensable. But these structures are delicate, so transporting them can be nerve-wracking. We will walk you through everything from initial planning to the final delivery, covering materials, teknik, and even what to do if things go wrong. Consider this article your trusted companion! To place this crucial step within the entire project lifecycle, be sure to reference our foundational pillar page, Panduan Utama untuk Model Arsitektur High-End.
In this guide, we’ll answer those burning questions like:
- How do you protect an architectural model during transport?
- What are the best materials for packing an architectural model?
- How much does it cost to ship an architectural model?
- What is the difference between a working model and a presentation model?
Mari selami!
Daftar isi
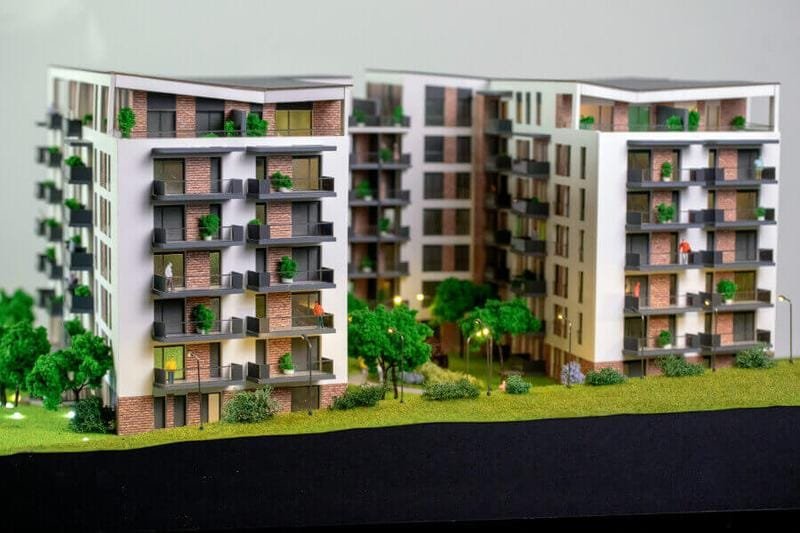
Understanding Architectural Models
Pertama, let’s get to know our precious cargo. Model arsitektur tidak semuanya sama. Their purpose, bahan, and construction dictate their fragility and shipping requirements. Understanding these differences will help you choose the right protection strategy.Types of Models
There are two main types:Model Kerja
Working models are like the rough drafts of buildings. They’re used by architects to explore ideas and solve problems. Think of them as the architect’s playground! They are often made from simple, cheap stuff because they might get changed or even thrown away. Their purpose is often to explore early ideas for a design competition, topik yang kami bahas How Concept Models Make a Winning Impact.- What they are: Design tools.
- Bahan: Foam core, kardus, anything cheap and easy.
- Why they matter: Help architects test ideas and catch mistakes early.
- Imagine: A quick foam model showing the basic shape of a building.
Model Presentasi
Model presentasi sudah dipoles, finished versions. They’re designed to impress clients and investors. These models use better materials and are made with a lot more care. Think of it as the building’s red carpet look! These are high-value assets, and as we detail in our guide on how models can double your sales, their safe arrival is paramount.- What they are: Showpieces.
- Bahan: Kayu, akrilik, metal – things that look like the real building.
- Why they matter: Sell the vision and get people excited.
- Imagine: A detailed wood model with tiny lights and landscaping.
Materials Used
Architectural models use all sorts of materials. The selection of the right materials is a complex topic in itself, which we explore in our complete Panduan untuk Model Bahan dan Selesai. Here’s a quick look:- Kayu: Kuat, classic, and can be beautifully detailed.
- Akrilik: Jernih, modern, and great for windows.
- Busa: Lightweight and easy to shape, good for working models.
- Kardus: Cheap and versatile, but not very strong.
- Logam: Adds a touch of realism and durability.
- 3D-Printed Components: Allows for complex and precise details, a process we examine in Revolusi Pencetakan 3D dalam Arsitektur.
- Landscaping Materials: Pohon, rumput, and other tiny details.
Pre-Construction Considerations for Packaging and Transport
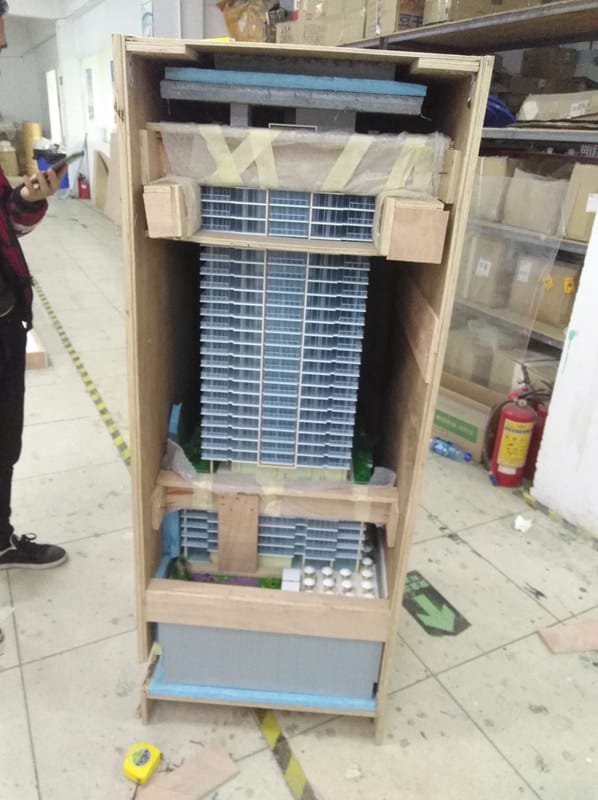
percaya atau tidak, planning for transport should start *before* you even build the model! It’s like knowing how you’ll get your cake home before you start baking it. It sounds strange, but taking considerations on transportation route earlier is extremely important. This is one of the 10 critical questions to ask your model maker before beginning any project.Size and Weight
A tiny model is way easier to move than a giant one. The size and weight have a huge impact on how you pack and ship the model, and are a primary driver of cost, as we detail in our guide to penetapan harga model arsitektur.- Big models need big boxes (or crates!): This often means more expensive shipping.
- Heavy models need strong boxes: And maybe even more than one person to lift them.
Sectional Design: Break It Down!
For large models, consider building them in sections. Like building with LEGOs! This makes moving and setting up much easier. The ability to create a large yet transportable model requires menemukan keseimbangan sempurna antara skala dan detail.- Pro: Easier to lift, less likely to break, fits in smaller vehicles.
- Kontra: Requires careful planning, takes extra time to assemble.
Fragile Components
Models often have tiny, delicate parts that can easily snap off. Think antennas, pagar, and those cute little trees.- Identify them: Make a list of all the fragile bits.
- Reinforce them: Use stronger glue, add extra supports, or make them detachable.
Material Compatibility
Did you know that some materials can react with each other over time? It’s like when certain foods don’t mix well in your stomach!- Use inert materials: These won’t cause any unwanted chemical reactions.
- Protect from UV light: Sunlight can fade colors and weaken materials.
Transportation Route Considerations
Think about the journey your model will take. Will it be a smooth ride or a bumpy one? This is a key part of mengelola proyek di luar negeri successfully.- Distance: A longer trip means more handling and more risk.
- Mode of transport: Will it go by truck, plane, or boat? Each has its own challenges.
- Weather: Heat, cold, and humidity can all affect the model.
Packaging Materials: A Detailed Overview
The right materials can make all the difference. It’s like choosing the right armor for a knight! This is a stage where the balance of high-tech materials and proven techniques, a blend of kerajinan modern vs. pekerjaan tangan tradisional, truly comes into play.External Casing Materials
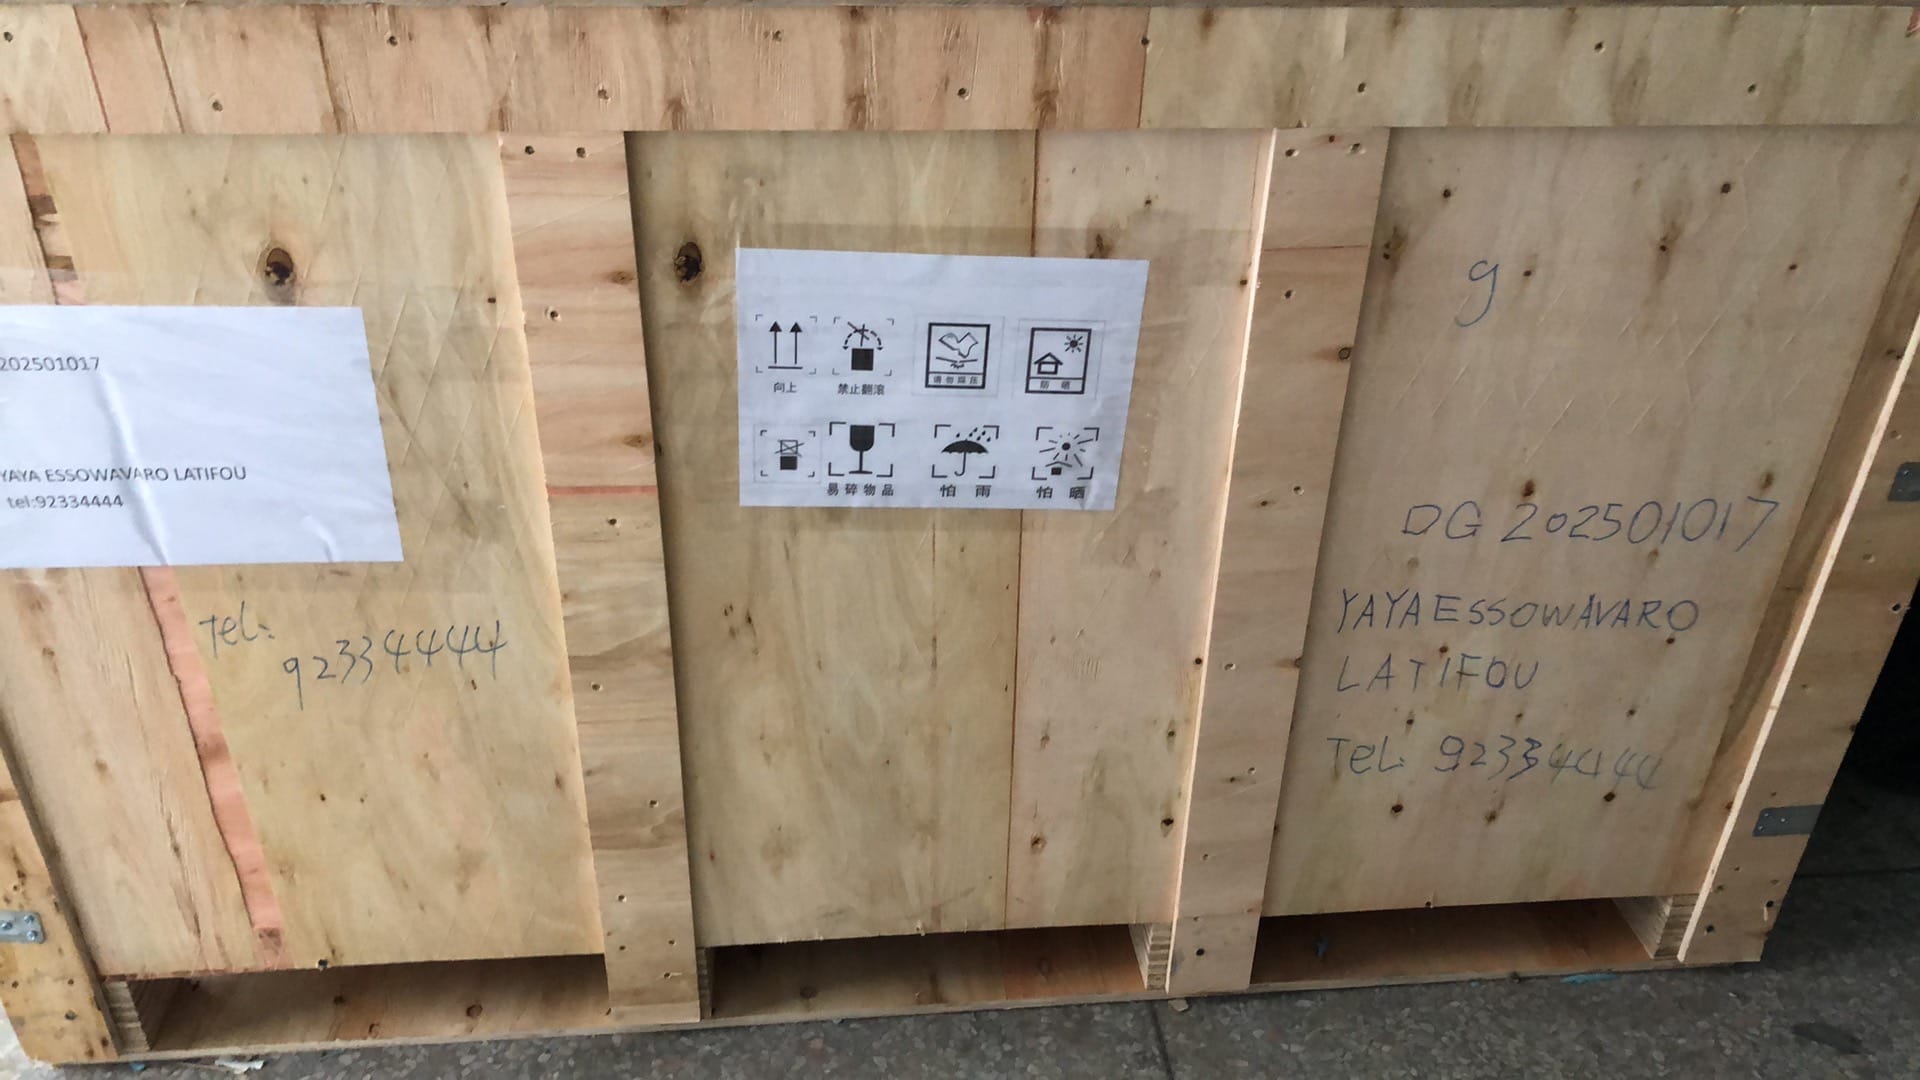
These are the outer layers of protection. They need to be strong and durable. Also consider weatherproofing!Kayu lapis
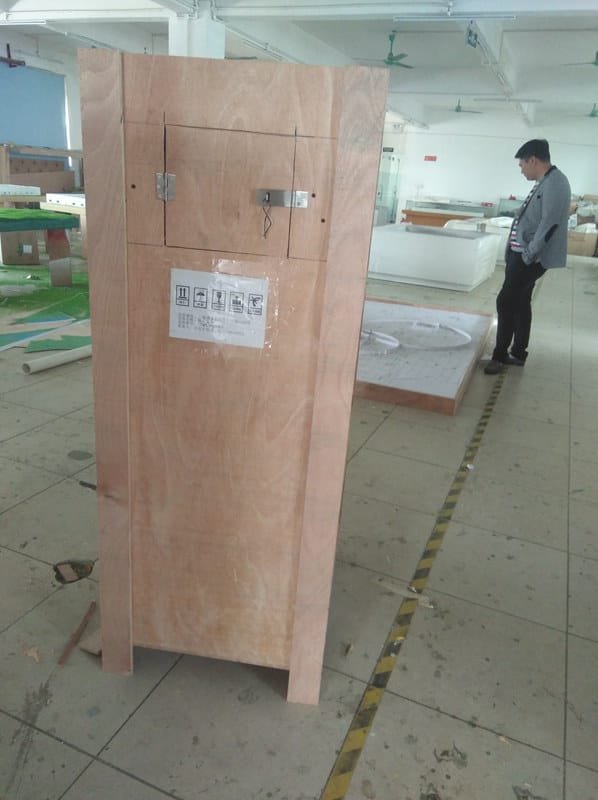
Plywood is a classic choice for model transport, due to its rigid structure and low weight.- Pro: Kuat, tahan lama, resists impact.
- Konstruksi: Different grades and thicknesses for different needs.
- Customization: Easily cut and shaped to fit any model.
- Reinforcement: Add corner bracing for extra strength.
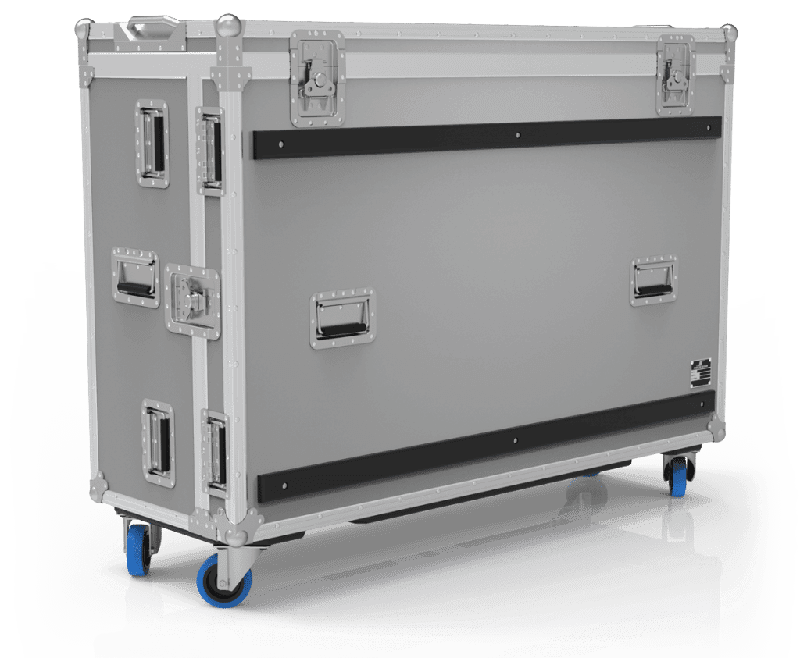
Flight Cases
Flight cases are like heavy-duty suitcases for models. They’re built to withstand serious abuse.- Pro: Super strong, reusable, easy to carry.
- Konstruksi: Metal edges, reinforced corners, recessed hardware.
- Customization: Foam inserts, wheels, and handles.
Corrugated Plastic (Corriboard)
Corrugated plastic is a lightweight, weather resistant, hemat biaya, and damage resistant material perfect for enclosing models of nearly any kind.- Pro: Ringan, waterproof, impact-resistant, chemically inert.
- Konstruksi: Different thicknesses and grades available.
- Aplikasi: Boxing and protective enclosures.
Other Options
- Wooden Crates: For really big models.
- Cardboard Boxes: For smaller, less fragile models.
Internal Protective Materials
These materials cushion the model and prevent it from moving around inside the box. It’s like wrapping your model in a soft blanket!Busa
Different foam types will offer different levels of protection for your scale model.- Tipe: Polyurethane, polyethylene, expanded polystyrene.
- Kepadatan: Choose the right density for the weight of your model.
- Customization: Cut and shaped to create custom molds.
- Inertness: Use foams that won’t damage the model.
Packing Peanuts
- Pro: Ringan, fill voids.
- Kontra: Can shift during transport, not great for fragile parts.
- Best Use: Use with other protective materials.
Bubble Wrap
- Pro: Ringan, fleksibel, cushioning.
- Kontra: Can be punctured, not ideal for heavy models.
- Best Use: Wrapping individual parts.
Acid-Free Tissue Paper
- Tujuan: Protects from scratches.
- Pro: Soft, non-abrasive.
Other Options
- Gel Packs: Absorb vibrations.
- Air Pillows: Fill empty spaces.
Sealing and Fastening Materials
These keep the box closed and secure. It’s like locking the door to keep your model safe!Heavy-Duty Tape
- Tipe: Packing tape, duct tape, filament tape.
- Best Use: Sealing boxes and crates.
Strapping
- Tujuan: Reinforce boxes.
- Tipe: Polypropylene, baja.
Locks and Latches
- Tujuan: Secure lids.
- Tipe: Different types for different security needs.
Packaging Techniques: Panduan langkah demi langkah
Sekarang, let’s get to the actual packaging. This is where you put all that planning into action! Modelworks have packed up scale models 50,000 times in the past 25 bertahun-tahun, so the information below comes from industry experts! This is a crucial part of our overall workflow, which you can see in Sekilas Tentang Proses Pembuatan Model Langkah-demi-Langkah Kami.Persiapan
Before you even think about packing, take these steps:- Inspect: Look for any existing damage.
- Clean: Remove dust and dirt.
- Photograph: Take pictures for insurance.
Protection of Fragile Components
Give those delicate parts some extra love.- Wrap: Use tissue paper or bubble wrap.
- Reinforce: Add cardboard or foam supports.
- Detach: Jika memungkinkan, remove them and pack separately.
Creating a Custom Foam Mold
This is like making a comfy bed for your model. It will prevent excessive movements during the transportation process. You might want to call the foam specialists before starting!- Measure: Get the model’s exact size.
- Cut: Shape the foam to fit.
- Mendukung: Make sure the foam supports the strong parts of the model.
- Airspace: Leave space around delicate parts.
- Secure: Use straps to hold the model in place.
Boxing/Crating
Time to put it all together!- Line: Add foam padding to the inside of the box.
- Placement: Carefully put the foam mold inside.
- Fill: Use packing peanuts to fill any gaps.
- Top Protection: Add another layer of foam on top.
- Seal: Tape and strap the box securely.
Plexiglass Protection (Opsional)
This gives you an extra layer of security and allows people to view the model without opening the box. A clear cover is especially important for models with complex lighting, a feature we explore in our guide to the Penggunaan Pencahayaan yang Strategis.- Cut: Size the plexiglass to fit the box.
- Install: Add it to the top of the box.
Labeling
Clear labels are key!- Fragile: Make it clear that the box needs special care.
- Handling Instructions: “This Side Up,” “Do Not Stack.”
- Informasi kontak: Sender and recipient details.
- Repacking Instructions: So the recipient can pack it up again safely.
| Label Type | Importance | Information Included |
|---|---|---|
| Fragile Warning | Critical | “Fragile – Handle with Care” |
| Handling Instructions | Critical | “This Side Up,” “Do Not Stack” |
| Informasi kontak | Important | Sender’s and Recipient’s Names, Addresses, Phone Numbers |
| Repacking Instructions | Recommended | Step-by-step guide for safe repacking |
Internal Documentation
Don’t forget these important papers!- Packing List: What’s inside the box.
- Assembly Instructions: How to put it back together.
- Condition Report: A record of the model’s condition before shipping.

Transportation Logistics: Choosing the Right Method
How will your model get from point A to point B? There are so many options. Let’s take a closer look.Local vs. Long-Distance Transport
Short trips are easier than long ones.- Local Moves: Use special sledges or carts.
- Long-Distance Shipping: Hire professional shippers like UPS atau DHL.
Shipping Options
Here’s a breakdown of the most common shipping methods.- Ground Shipping: Cheapest, but slowest and riskier.
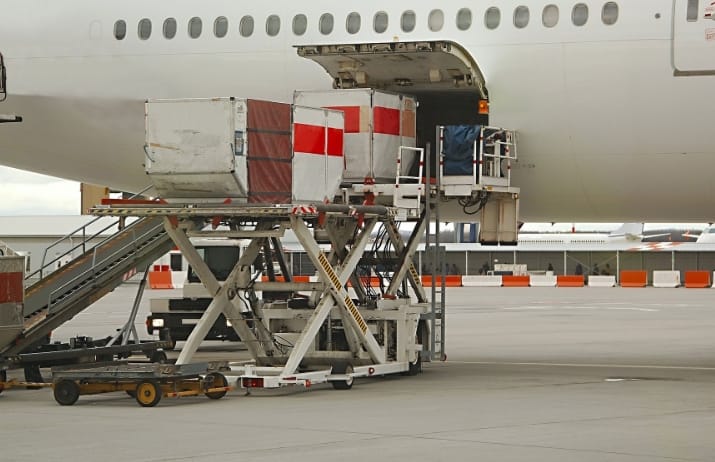
- Air Freight: Faster and safer, but more expensive.
- Sea Freight: For very large models, but slow and potentially damaging.
Selecting a Shipping Company
Choose wisely! Some considerations are expertise, insurance, tracking, and references!Insurance
Always insure your model. You don’t want to take the risk of not having an insurance during transportation.- Importance: Protects you if something goes wrong.
- Coverage: Make sure the policy covers the full value of the model.
- Dokumentasi: Keep records of the model’s value and condition.
Customs and Import Regulations (for international shipments)
Shipping internationally can be tricky, due to the many rules and regulations that may not be easy to understand.- Research: Know the rules of the destination country.
- Dokumentasi: Prepare all the necessary paperwork.
- Duties and Taxes: Be ready to pay any fees.
Handling and Unpacking: Minimizing Damage Risks
The final steps are just as important as the packaging! You’ve got to handle it with care, and that care starts with teamwork.Safe Handling Practices
Here are some best practices you should know:- Teamwork: Get help lifting heavy models.
- Proper Lifting: Use the right techniques to avoid injury.
- Avoid Tipping: Keep the model upright.
- Sledges: Use them whenever possible.
Unpacking Procedures
Unpacking should be easy! Let’s take a look at how this process should work.- Careful Opening: Don’t rush it.
- Dokumentasi: Check the packing list and condition report.
- Gentle Removal: Take your time removing the model.
- Perakitan: Follow the instructions carefully.
- Inspeksi: Look for any damage.
- Photograph: Document any issues.
Addressing Damage
If the worst happens, don’t panic!- Contact Shipping Company: Report the damage immediately.
- File a Claim: Start the insurance process.
- Conservation/Restoration: Find a professional to repair the model.
Conservation Considerations: Preserving Architectural Models for the Long Term
Once the model arrives safely, you want to keep it in good condition. It’s like taking care of a valuable piece of art! The Royal Institute of British Architects (RIBA) has a collection of 360 Model Arsitektur, so they are experts in conservation.Environmental Control
The environment can have a big impact on the model’s condition.- Temperature and Humidity: Keep them stable.
- UV Protection: Avoid direct sunlight.
- Air Quality: Minimize dust and pollutants.
Storage Solutions
The right storage can make a big difference. You may want to check out Uline for your storage solutions.- Custom Crates/Boxes: Protect from physical damage and the elements.
- Acid-Free Materials: Prevent chemical damage.
- Proper Support: Keep the model from collapsing.
Handling Procedures
Handle with care!- Gloves: Prevent the transfer of oils and dirt.
- Proper Lifting: Use the right techniques.
- Limited Handling: The less you touch it, semakin baik.
Pest Management
Pests can cause serious damage. Keep those pests away!- Monitoring: Look for signs of pests.
- Preventative Measures: Seal cracks and use traps.
Cleaning Procedures
Keep it clean, but be gentle.- Gentle Cleaning: Use soft cloths and brushes.
- Appropriate Cleaning Solutions: Avoid harsh chemicals.
- Professional Cleaning: For delicate models, leave it to the experts.
Studi Kasus: Real-World Examples of Successful and Unsuccessful Transport
Let’s look at a couple of real-life examples to see what works and what doesn’t.Successful Transport Example
Yang besar, detailed model of a museum was shipped across the country. A project like this, often involving large public spaces, is similar in complexity to Seni Model Masterplan. The team carefully planned the packaging, used a custom-built crate with foam padding, and hired a professional shipping company. The model arrived in perfect condition! Success!Unsuccessful Transport Example
A small model of a house was shipped in a cardboard box with minimal packing material. The box was mishandled during transport, and the model arrived with several broken pieces. Not a success! From these, we can see that proper planning, packaging, and shipping are key!| Skenario | Packaging Method | Shipping Company | Hasil |
|---|---|---|---|
| Successful Transport | Custom-built crate with foam padding | Professional shipping company | Model arrived in perfect condition |
| Unsuccessful Transport | Cardboard box with minimal packing | Standard courier service | Model arrived with several broken pieces |

Cost Considerations: Factors Influencing the Price of Packaging and Transport
How much will all of this cost? Here’s a look at the factors that affect the price.- Model Size and Weight
- Packaging Materials
- Shipping Distance
- Shipping Method
- Insurance
- Customs and Import Duties
Cost-Saving Strategies
Want to save money? Here are some tips.- Early Planning
- Sectional Design
- Negotiating Shipping Rates
- Choosing the Right Packaging Materials
Budgeting Tips
- Obtain Multiple Quotes
- Factor in Insurance Costs
- Plan for Unexpected Expenses
| Expense Category | Keterangan | Cost-Saving Tips |
|---|---|---|
| Packaging Materials | Cost of plywood, busa, tape, dll.. | Use cost-effective materials like corrugated plastic for smaller models |
| Shipping Fees | Fees charged by the shipping company | Negotiate rates, choose ground shipping if time allows |
| Insurance | Cost of insuring the model against damage or loss | Compare insurance options, assess the model’s true value |
| Customs Duties | Fees charged for international shipments | Research regulations, prepare paperwork carefully |
Future Trends in Architectural Model Packaging and Transport
What does the future hold? Here are some trends to watch. We explore these concepts in depth in our article on Masa depan pembuatan model.- Sustainable Packaging Materials
- Advanced Monitoring Technologies
- 3D Printing for Packaging
- Realitas Virtual dan Augmented
| Kecenderungan | Keterangan | Dampak |
|---|---|---|
| Sustainable Packaging | Use of eco-friendly materials like recycled cardboard | Reduces environmental footprint, appeals to eco-conscious clients |
| Advanced Monitoring | Sensors that track temperature, humidity, and vibration | Ensures model is transported in optimal conditions, alerts to potential issues |
| 3D Printed Packaging | Custom-fit packaging created using 3D printing technology | Offers superior protection, reduces material waste |
| Virtual Reality Models | Interactive 3D models viewed using VR headsets | Minimizes the need for physical transport, enhances presentation capabilities |
Kesimpulan
Packaging and transporting architectural models doesn’t have to be a stressful experience. By following these expert tips and tricks, you can ensure your model arrives safely and looks great. You now know everything you need to choose materials and secure models during transportation! Ingat, perencanaan adalah kuncinya. Start thinking about packaging and transport early in the construction process. The cost and hassle are worth it for such an important tool. Sekarang, what are you waiting for? Get packing! With this article, you’re sure to transport your architectural models safely and professionally. Good luck! Let’s quickly answer some of those beginning questions.- How do you protect an architectural model during transport? → Packing the model properly!
- What are the best materials for packing an architectural model? → Plywood and foam!
- How much does it cost to ship an architectural model? → It all depends!
- What is the difference between a working model and a presentation model? → One is a rough draft, while the other is for show!


