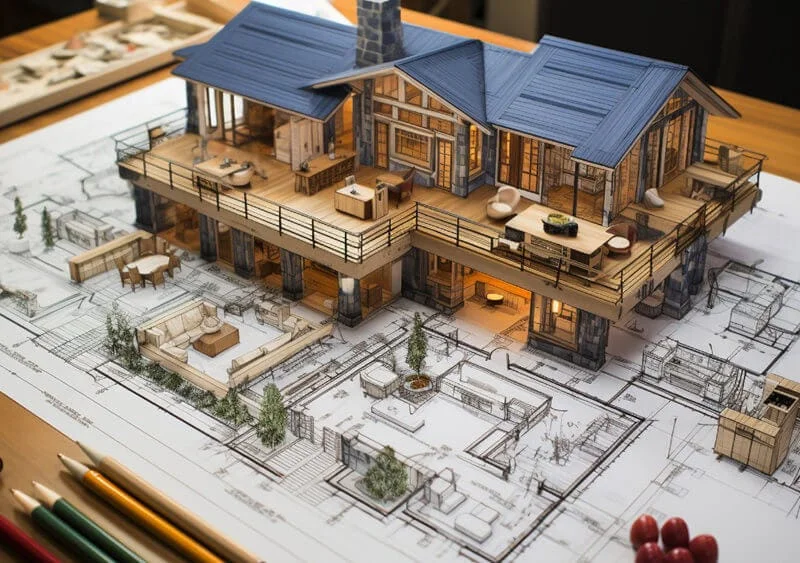
建築モデルの作成 設計と建設の世界に携わるすべての人にとって重要なスキルです. 学生であろうとも, 経験豊富なプロ, あるいはただの趣味人, よくできたモデルを作成することはゲームチェンジャーになる可能性があります. 設計図に命を吹き込むようなものです! これらのミニチュア構造は見た目がクールなだけではありません – 潜在的な問題を特定するのに役立ちます, あなたのデザインをクライアントに披露する, プロジェクトの資金確保にも役立ちます. このように考えてください: 一枚の絵は千の言葉に匹敵するかもしれない, でもモデルには100万の価値がある.
このガイドには、モデル作成をさらに上達させるための実践的なヒントとコツが満載です。. 初期計画段階から最終段階まですべてを順を追って説明します, 複雑な詳細. プラス, 物事を次のレベルに進める準備ができたときに役立つ、いくつかのクールな高度なテクニックを見ていきます. 建築の旅のどこにいても, このガイドにはあなたのための何かがあります.
目次
計画と準備
目的と範囲の定義
1. モデルの目的を理解する:
コンセプトを探求しようとしていますか, デザインを洗練させる, またはクライアントを驚かせる? 資金を確保したり、新しいプロジェクトについて世間を興奮させたりしようとしているのかもしれません. これらのそれぞれの目的には、モデル作成に対する異なるアプローチが必要です. 考えてみてください: a model for a quick brainstorming session will look very different from one you’d present to a potential investor.
- Conceptual exploration: Keep it simple and flexible.
- デザイン開発: Focus on specific design elements and how they work together.
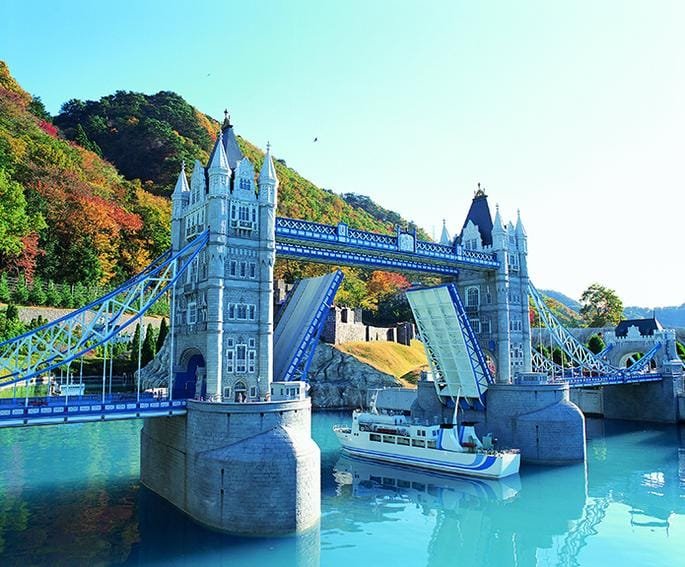
- Client presentation: Aim for a polished, detailed model that showcases the project’s best features.
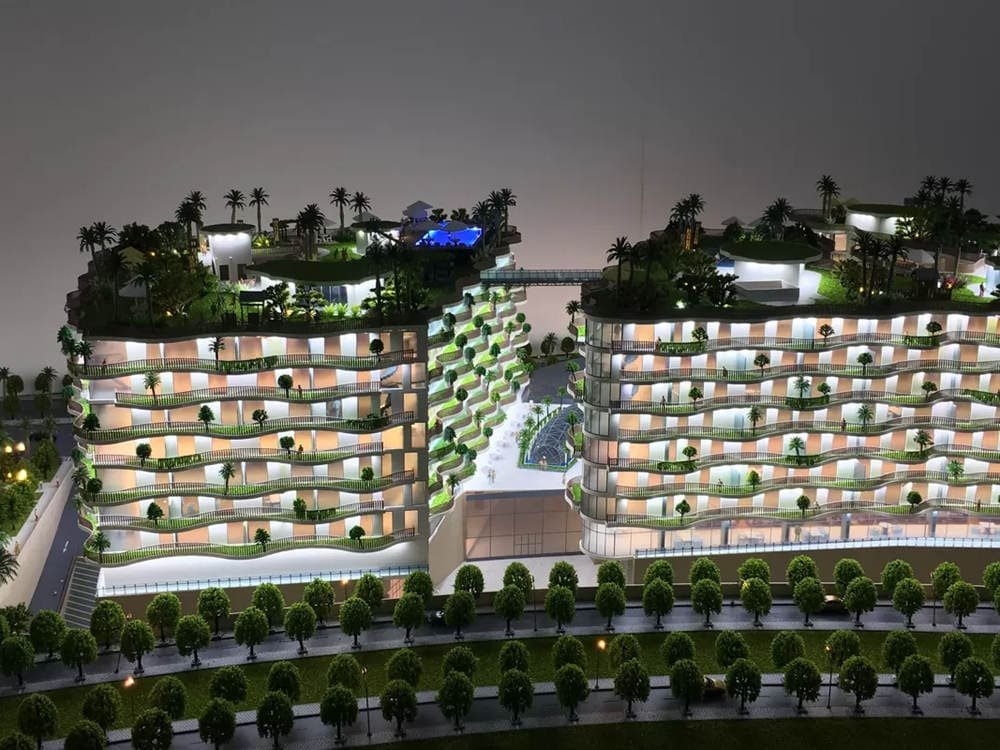
- マーケティング: Create a visually stunning model that captures attention and generates interest.
2. Determine the Level of Detail:
How intricate should your model be? The answer depends on what you’re using it for. A conceptual model can be pretty basic, while a presentation model needs to show off all the bells and whistles. If you’re building a model to show off to clients, you’ll want to include more details, like tiny furniture or landscaping. でも、アイデアを試すだけなら, シンプルに保つことができます.
3. 聴衆を考慮する:
適切なスケールの選択
1. スケール比を理解する:
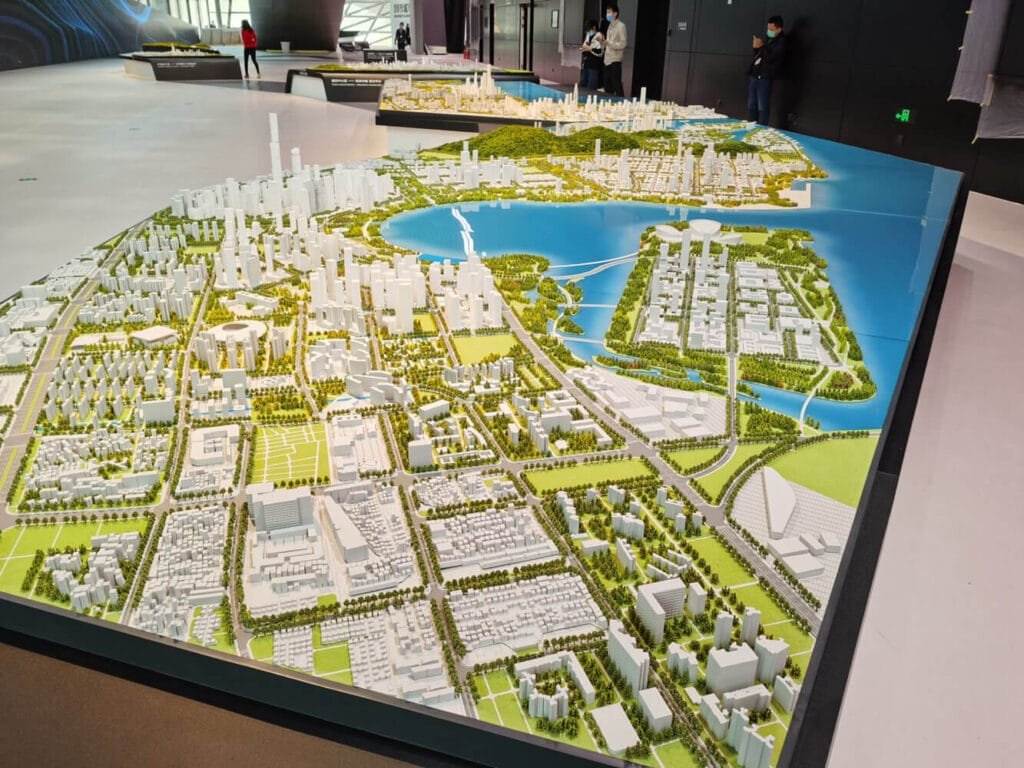
建築モデルはさまざまなスケールを使用します, のように 1:10, 1:50, あるいは 1:500 都市計画モデル用. それはどういう意味ですか? 良い, ある 1:10 スケールとは、モデル上のすべてのインチを表すことを意味します。 10 実生活ではインチ. それぞれのスケールには独自の目的があります. 1 つの部屋をモデリングしている場合, 1:10 または 1:25 一番いいかもしれない. 家の場合, たぶんあなたは欲しい 1:50 または 1:100. 街区全体の場合? あなたは次のように小さくするかもしれません 1:500 あるいは 1:2500.
一般的なスケールを簡単に見てみましょう:
| 規模 | 一般的な使用方法 |
|---|---|
| 1:10 | インテリアの詳細, 家具 |
| 1:25 | 室内のレイアウト |
| 1:50 | 一戸建て住宅, 小さな建物 |
| 1:100 | 大きな建物, 小さな複合施設 |
| 1:200 | 高層ビル, より大きな複合体 |
| 1:500 | 街区, 都市計画 |
| 1:2500 | 大規模都市計画, 地域モデル |
2. 適切なスケールを選択してください:
Creating a Time Plan and Budget
1. Develop a Realistic Schedule:
2. Estimate Material Costs:
3. 主要な機能に優先順位を付ける:
予算が限られている場合、または締め切りが迫っている場合, やりたいことすべてができないかもしれない. 大丈夫です! デザインの最も重要な部分だけに焦点を当てます. あなたのアイデアを本当に売り込むための重要な機能は何ですか? もしかしたら、それはユニークな屋根のラインやクールな中庭かもしれません. それが何であれ, それらの要素がモデル内で映えるようにしてください. 時間とお金があれば、後でいつでも詳細を追加できます.
設計図と参考資料を収集する
1. 正確な平面図と立面図を使用する:
これは超重要です. 建築図面を正しい縮尺で印刷する必要がある. これらがテンプレートになります, したがって正確さが重要です. コピーを数枚手元に用意してください. いつバックアップが必要になるかわかりません. 良いヒントは、計画の余分なコピーを印刷することです. そうやって, 元の図面を台無しにすることを心配することなく、それらを切り取ってテンプレートとして使用できます。.
2. デジタルモデルの活用:
材料の選択
Choosing Materials Based on Model Type and Purpose
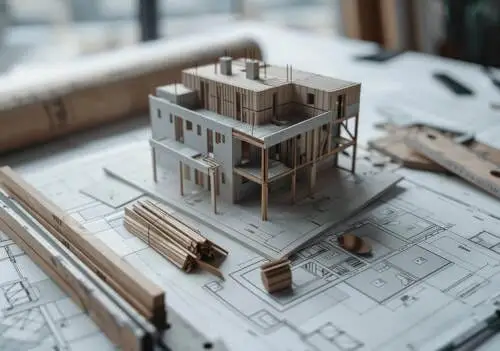
1. 概念モデル:
2. 実用モデル:
3. プレゼンテーションモデル:

Exploring Different Material Options
1. Paper and Cardboard:
These are your go-to’s for quick and easy models. Card stock is great for its flexibility and comes in different colors. Chipboard is thicker and good for sturdy structures. Kraft board is super strong and perfect for larger models.
Here is a table about Paper and Cardboard:
| 材料 | 説明 | ベストユース |
|---|---|---|
| カードストック | フレキシブル, comes in various colors, thicker than regular paper | クイックモデル, 曲面 |
| 合板 | Thicker than card stock, sturdy, often comes in two or three sheets (duplex or triplex) | 構造要素, base models |
| クラフトボード | Very strong, rigid, can be cut cleanly | Large-scale models, durable structures |
| 厚紙 | 軽量, リサイクル可能, uniquely flexible | Adding light details like roads, 経路, terrains |
2. 木材:
Wood brings a natural, warm feel to your models. Balsa wood is a favorite because it’s lightweight and easy to cut. Basswood is denser and has a finer grain, making it good for detailed work. MDF is heavy and best for bases. Balsa is so easy to work with; you can even cut it with a craft knife!
Here is a table about Wood:
| 材料 | 説明 | ベストユース |
|---|---|---|
| バルサウッド | 軽量, カットしやすい, comes in panels or thin strips | フレームワーク, detailed structures, can be cut by hand or laser cut |
| バスウッド | Denser and heavier than balsa, fine grain | Detailed work, strip wood with a fine grain |
| MDF (Medium-density Fiberboard) | Thick, dense, heavy, good finish | Model bases, large architectural models |
| コルク | Natural finish, flexible but breakable | Modeling hilly sites, can be layered for terrains |
3. フォーム:
Foam is fantastic for quick massing models. Foam board comes in different thicknesses and colors and is super easy to cut. Insulation board, also known as blue foam, is great for conceptual models. Gator board is a bit fancier – it’s lightweight but also moisture-resistant.
Here is a table about Foam:
| 材料 | 説明 | ベストユース |
|---|---|---|
| フォームボード | 軽量, comes in various thicknesses and colors, smooth finish | マスモデル, 壁, bases |
| Insulation Board (Blue Foam) | 軽量, easy to model with, comes in various colors (青, グレー, pink, brown) | 概念モデル, サイトモデル (brown foam) |
| Gator Board | 軽量, smooth finish, moisture-resistant | High-quality models, プレゼンテーション |
4. プラスチック:
Plastics offer a clean, モダンな外観. Acrylic sheets are perfect for windows and facades because of their glossy finish. ABS is super durable and great for laser cutting. PVC sheets are good for representing transparent elements. Acrylic is a bit trickier to work with, but the results are worth it!
Here is a table about Plastics:
| 材料 | 説明 | ベストユース |
|---|---|---|
| アクリルシート | Smooth, glossy finish, comes in various thicknesses | Windows, ファサード, モダンな外観のモデル |
| ABS (アクリロニトリル ブタジエン スチレン) | 耐久性, dissolves in acetone, fuses together neatly | Laser-cut models, detailed parts |
| PVC Sheets | 硬い, used to represent transparent and translucent parts | Windows, transparent elements |
5. 金属:
6. Clay and Plasticine:
Considering Material Properties
1. Durability and Longevity:
2. 切断と成形の容易さ:
3. 表面仕上げと質感:
4. 接着剤や塗料との適合性:
Using Premade Architectural Model Materials
1. Landscaping Elements:
2. Figures and Vehicles:
3. Furniture and Fixtures:
Tool Selection and Usage
Essential Cutting Tools
1. Cutting Knives:
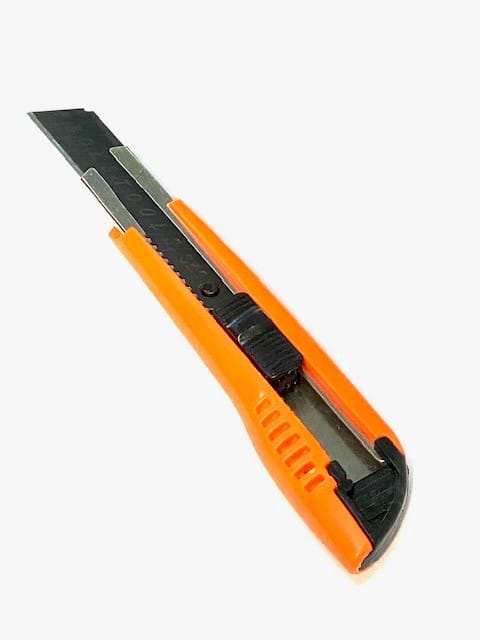
These are your workhorses. You’ll be using them for everything from scoring foam board to cutting intricate details. The Olfa 9mm knife is a great all-around choice. It has an adjustable blade, so you can use just the tip for fine details or extend it for thicker materials. The X-Acto knife is perfect for super precise cuts. But be warned, they are extremely sharp!
Here’s a tip: always use a fresh blade. A dull blade is more dangerous than a sharp one because you have to use more force, スリップや事故につながる可能性がありますので、常に自分から離れて、刃の進路に指を近づけないでください。.
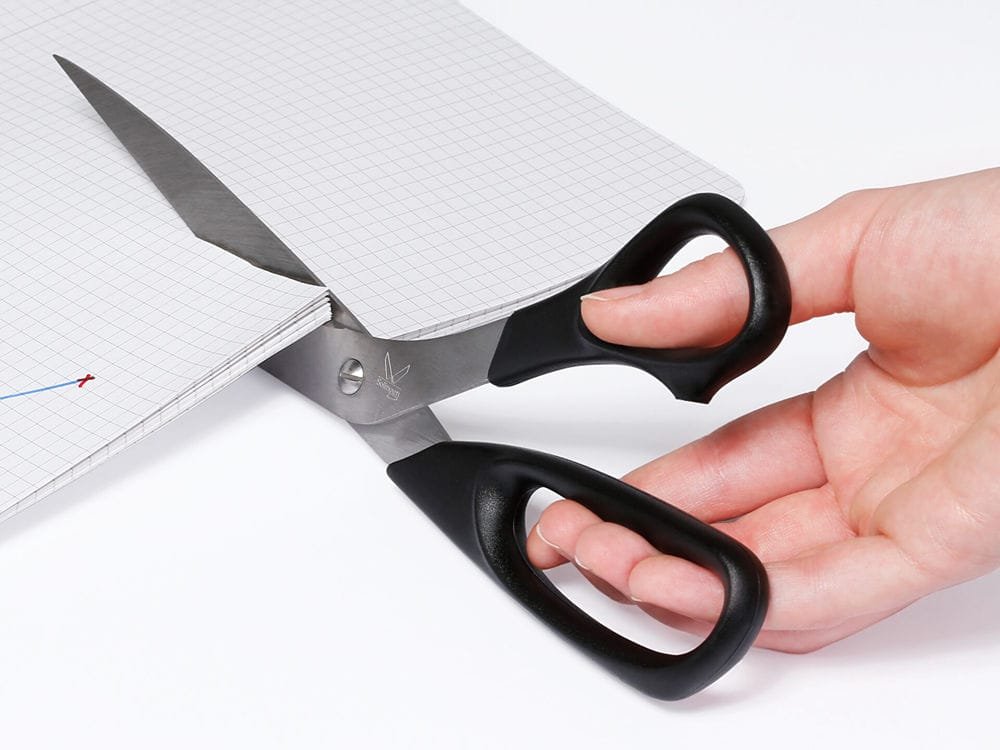
2. ハサミ:
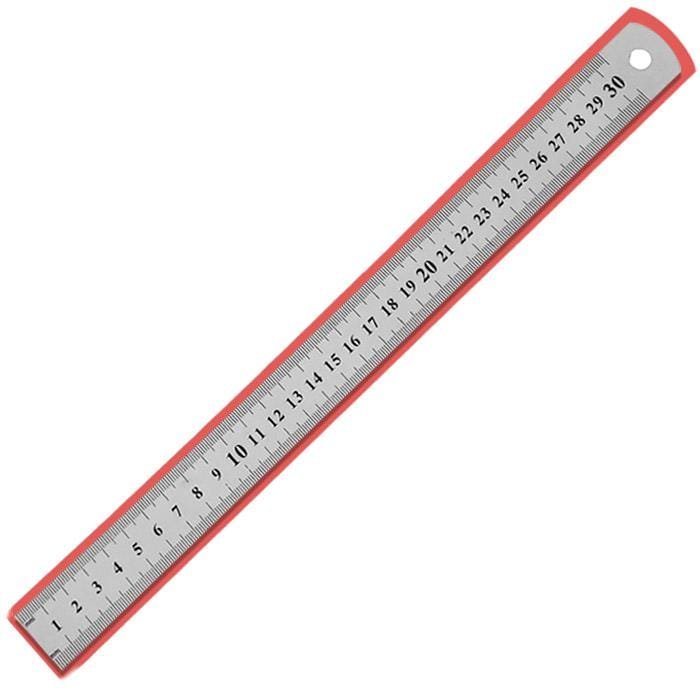
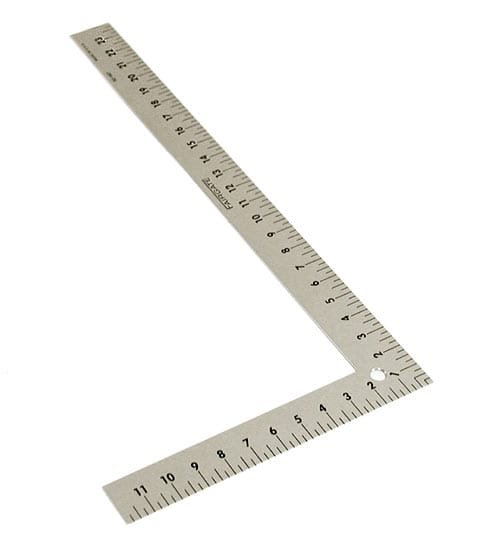
3. 金属定規:
4. L-2乗:
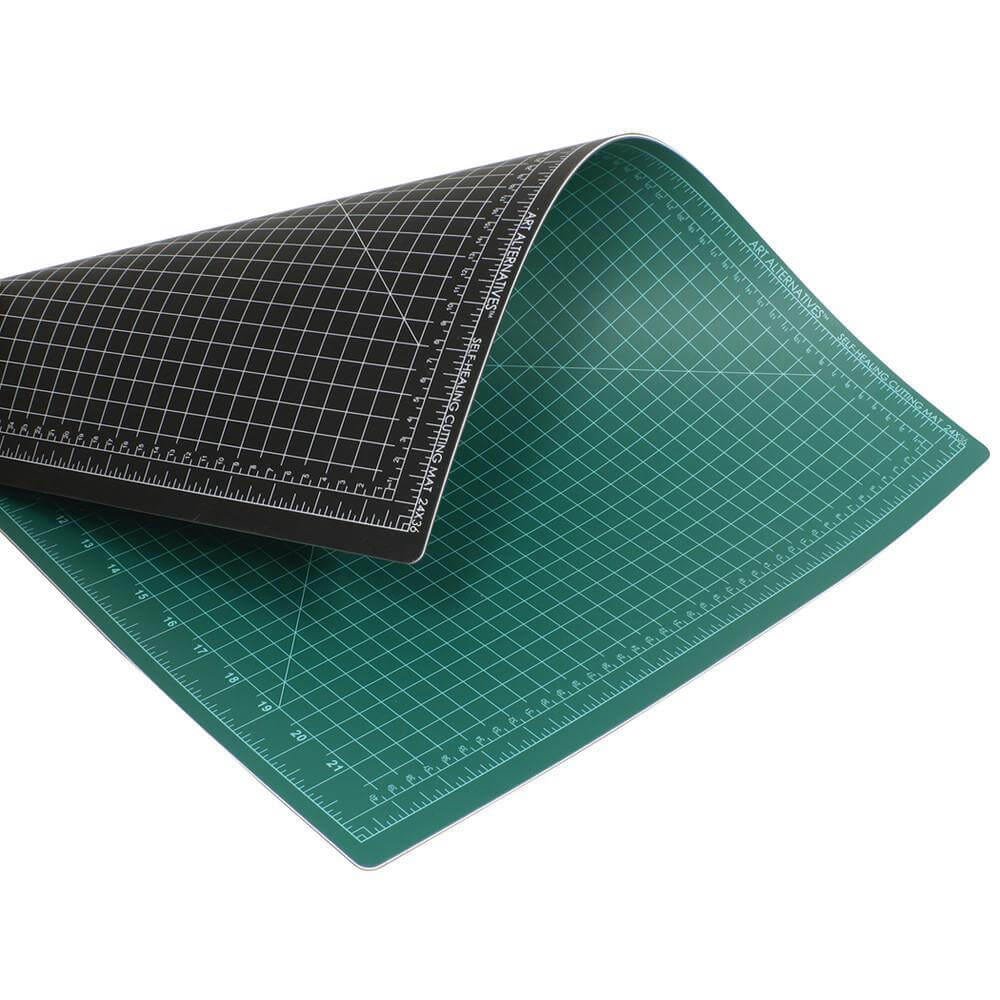
5. Self-Healing Cutting Mats:
Assembly Tools and Adhesives
1. Glue Selection:

Choosing the right glue is crucial. Here’s a quick rundown:
Here’s a quick look at common glue:
| Glue Type | 説明 | に最適です |
|---|---|---|
| Glue Sticks | 安い, 使いやすい, not very strong | Temporary bonding, 紙 |
| White Glue | 無毒, general purpose, dries clear | 紙, 厚紙, 木材 (light-duty) |
| 粘着性の接着剤 | Thicker than white glue, stronger, faster drying | Most materials, general model making |
| ホットグルー | Fastest drying, strong bond, can be messy | Quick fixes, attaching landscaping elements |
| Wood Glue | Specifically for wood, strong bond, stains if not cleaned | Wood models, 構造要素 |
Glue Sticks: These are okay for quick fixes or sticking paper together, but they’re not very strong.
White Glue: This is your basic, all-purpose glue. It works on lots of materials, but it takes a while to dry.
粘着性の接着剤: This is like white glue but stronger and faster drying. It’s a good all-around choice for model making.
ホットグルー: This stuff dries super fast, which can be good and bad. It’s great for quick fixes, but you have to work fast. Be careful, though – it’s hot! I’ve burned myself more times than I care to admit.
Wood Glue: If you’re working with wood, you need wood glue. It creates a super strong bond.
2. Glue Application:
3. Double-Sided Tape:
4. ピンセット:
Other Useful Tools
1. サンドペーパー:
2. Modeling Pliers:
3. Dusting Brush:
4. Acrylic Cutting Tool
Construction Techniques and Tips
切断技術
1. Scoring and Snapping:
2. Using Templates:
3. Cutting Order:
4. Maintaining Sharp Blades:
組み立てテクニック
1. ドライフィッティング:
2. 接着戦略:
3. Layering and Reinforcement:
4. Adding Texture and Color:
2. Creating Windows and Doors:
For windows, use clear plastic sheets. You can buy these at most craft stores or online. Cut them to size and glue them in place. For doors, you can use the same material as your walls, or you can use something different to make them stand out. You can even add tiny details like doorknobs or hinges to make them look more realistic.
Here’s a tip: If you’re modeling a building with lots of windows, create a template for the window openings. This will ensure that all your windows are the same size and shape.
3. Incorporating Landscaping:
4. Adding Figures and Vehicles:
高度なテクニック
レーザー切断
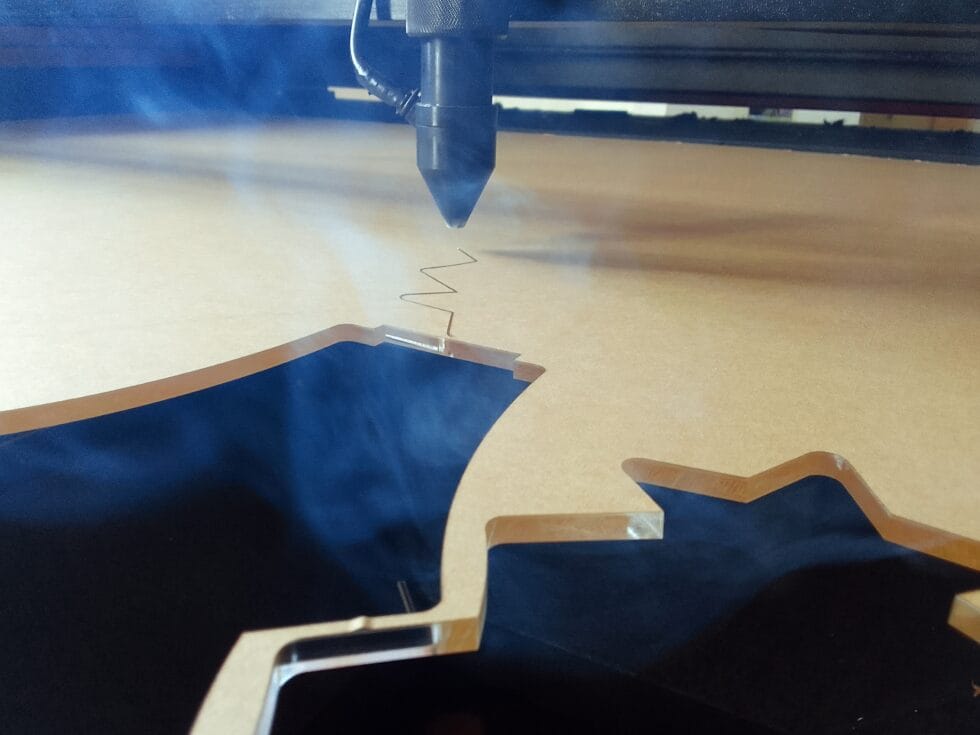
Laser cutting is a great way to create precise, intricate parts. It’s especially useful for cutting thin materials like acrylic, 木材, and some plastics.
Here’s a tip: If you’re using a laser cutter, always make sure the settings are correct for the material you’re using. Using the wrong settings can damage the material or even start a fire.
1. Preparing Files:
2. Material Considerations:
3D印刷
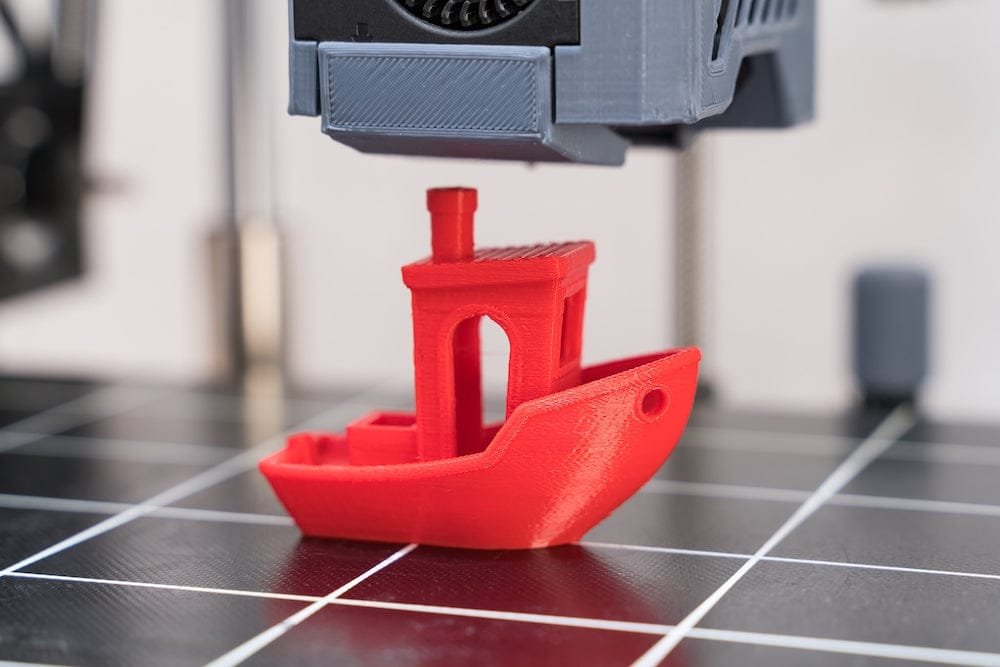
1. Model Preparation:
To 3D print a part, you’ll need a 3D model. You can create one in programs like Blender, SketchUp, or Tinkercad. Make sure your model is “防水,” meaning it doesn’t have any holes or gaps. There are lots of free 3D modeling software options available online. You can also find pre-made 3D models online that you can use in your projects.
2. 材質のオプション:
プレゼンテーションとメンテナンス
拠点の作成
1. 素材の選択:
2. Finishing the Base:
3. Adding Context:
点灯
Lighting can make a huge difference in how your model looks. 特定の機能を強調することができます, 影を作成する, そしてドラマを加える. これは、デザインを紹介し、より魅力的なものにするのに非常に役立ちます.
1. リアリズムの向上:
2. 照明の種類:
写真
1. シンプルな背景の使用:
2. 適切な照明:
3. カメラの設定:
Maintenance
1. クリーニング:
2. ストレージ:
3. 保護
結論
模型製作は旅です, 目的地ではない. 時間がかかります, 忍耐, そして練習する. しかし、適切な計画があれば, 材料, ツール, とテクニック, あなたのデザインに命を吹き込む素晴らしいモデルを作成できます. 実験して新しいことを試すことを恐れないでください. そして最も重要なことです, 楽しむ! 覚えて, 構築するすべてのモデルが学習体験になります.
モデル作成スキルを次のレベルに引き上げる準備ができています? 今日から次のプロジェクトを始めましょう! 当社の Web サイトを参照して、関連トピックをさらに深く掘り下げてください。, 建築製図技術のような, 最高の建築ソフトウェア, 建築設計コンペティション, パラメトリックデザイン, あるいは都市設計のベストプラクティスさえも. サプライヤーへのリンクを見つけることができます, メーカー, およびその他の役立つリソース.
Q&セクション
Let’s tackle some common questions about architectural model making:
Q: What is the purpose of architectural model making?
a: It’s all about bringing designs to life! Models help architects explore ideas, refine designs, and communicate concepts to clients and the public. They’re also used for marketing, securing funding, and even as presentation tools.
Q: What scale is used in most architectural models?
a: It depends on the project, but common scales range from 1:10 for detailed interiors to 1:500 または 1:2500 for urban planning. Smaller scales are used for larger projects.
Q: What are the suitable materials to use in an architectural model?
a: The best material depends on the type of model and your budget. フォーム, 厚紙, and paper are great for conceptual models. 木材, アクリル, and high-quality foam board are good for presentation models. There are tons of options, from balsa wood and basswood to acrylic sheets and PVC.
Q: What are the right tools to use for cutting and assembly in model making?
a: You’ll need cutting knives (Olfa 9mm, X-Acto), はさみ, metal rulers, L-squares, a self-healing cutting mat, and various glues (white glue, tacky glue, hot glue, 木工用接着剤). Tweezers and a drafting brush are also super helpful.
Q: How do you make a good architectural model?
a: Plan carefully, choose the right scale and materials, use sharp tools, and take your time. Practice makes perfect! 細部に注意してください, use templates for repeated elements, and don’t be afraid to experiment.
Q: How do you present an architectural model?
a: Create a sturdy base, consider the context, and use lighting to your advantage. Make sure the model is clean and well-maintained. Think about the story you want to tell with your model.
Q: How do you photograph architectural models?
a: Use a simple background, good lighting (natural or artificial), and a tripod. Adjust your camera settings for optimal focus and depth of field. Take photos from multiple angles.
Q: How do I plan an architectural model?
a: Define your objective, choose the right scale, create a schedule and budget, and gather all necessary drawings and references. Think about your audience and the level of detail needed.